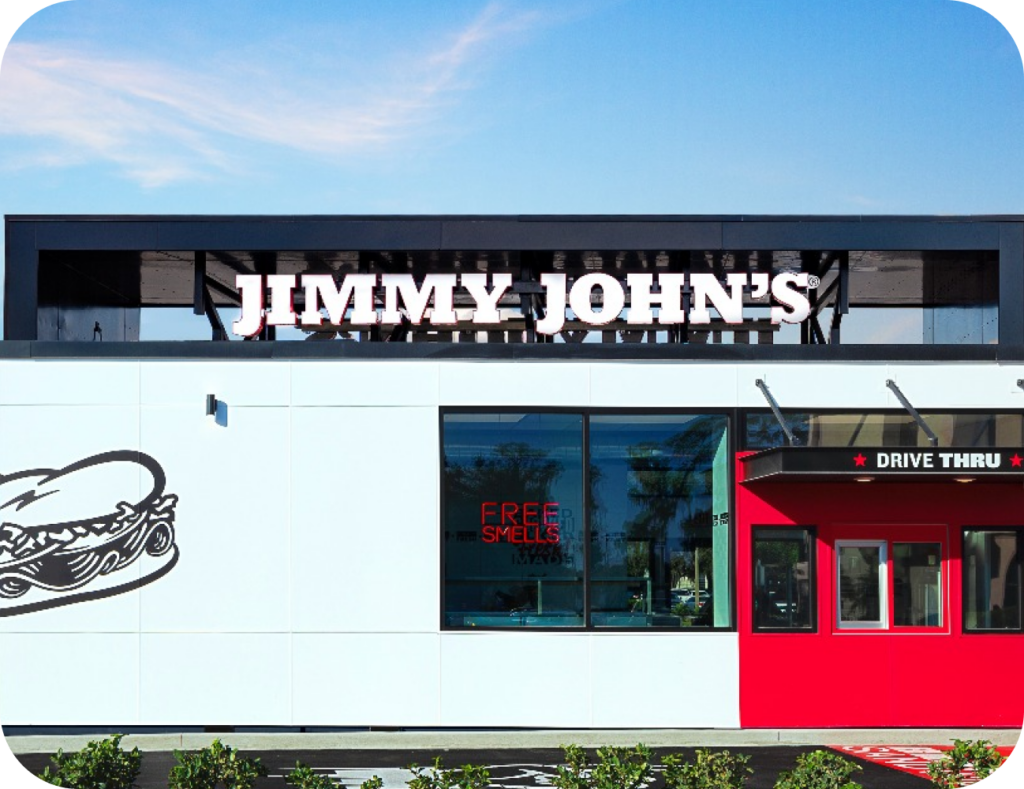
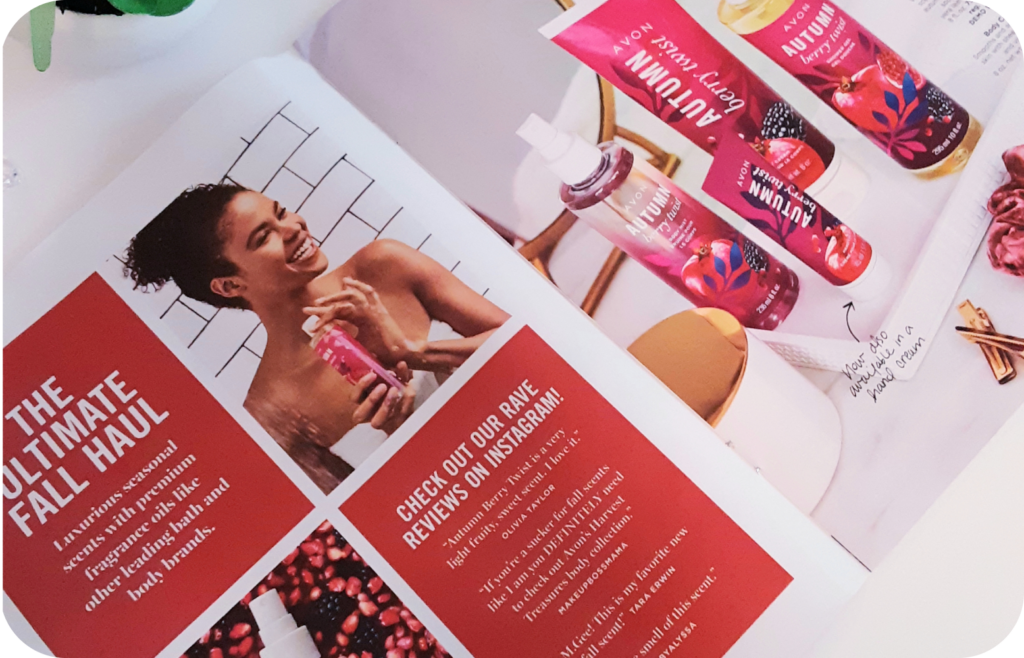
Smells Sell! Unlike Jimmy John’s slogan “free smells”, we like to consider printable scents’ slogan as “profitable smells.” Why? Smell is the strongest trigger of memory, affecting our emotions and even our mood. Therefore, when scent is incorporated within print media, the message becomes more engaging, evoking an emotional response that goes beyond the visual or written message. A heightened emotional engagement with print media occurs, and is proven to increase consumer recall, redemption, sales, and brand value. The wacky world of scented printing can be confusing, let’s break it down.
1. What are printable scents?
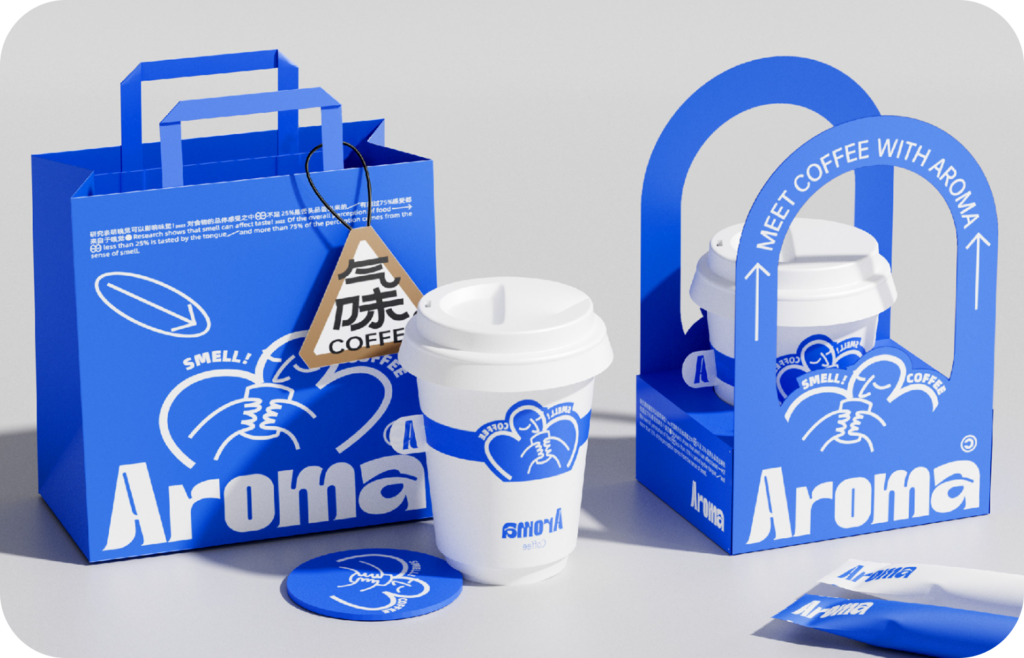
As the same suggests, printable scents are when you imprint a fragrance onto print media. This can be in a retail display, poster, label, etc. The most common names for this are Scratch-N-Sniff or scent marketing.
2. Advantages of printable scents
Advantage 1: Added consumer recall:
Apart from smelling good, studies show that people can relate a scent to memory with 65% accuracy for up to 12 months.
Advantage 2: Added engagement
A research report from Starch Communications confirms that scented print ads increase the readership of ad copy by 136% when a scent is included.
Advantage 3: Differentiation from the competition
Finally, the majority of print media does not contain scents, this inherently creates an opportunity for dramatic differentiation from the competition regardless of the market saturation.
3. Types of Printable Scents
Generally speaking, there are two categories of printable scents and how they are manufactured. There are non-interactive scents and interactive scents and you can manufacture them using a print coating (varnish/slurry) or print ink. A print coating is like varnish for wood. It goes over or under your artwork as a layer of clear scent or fragrance. While scented print ink combines the fragrance with the colored ink that is on your print media.
Interactive Scents
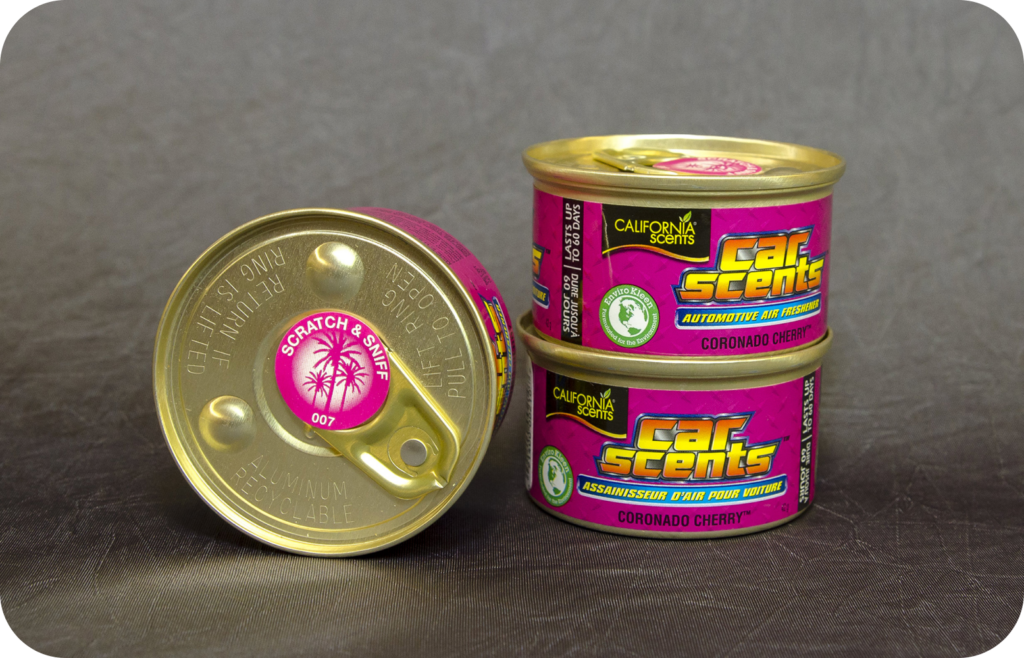
Interactive scents such as Scratch N Sniff or Rub N Smell are the more familiar types of printable scent methods. These incorporate encapsulated fragrances which when scratched or rubbed break and release the scent. The density of capsules that contain the amount of fragrance varies among the printer’s capabilities. This is important because it directly impacts the longevity of the scent, which ultimately impacts the number of interactions that release scent (and ROI). Interactive scents are best applied to coated paper stock and plastics.
Non-Interactive Scents
Non-interactive scents are applied to un-coated, coated paper stock, or blotter paper and will emit a fragrance without being scratched or rubbed. These reach consumers whether they interact with the printed media or not. These would not require a “scratch here” type label.
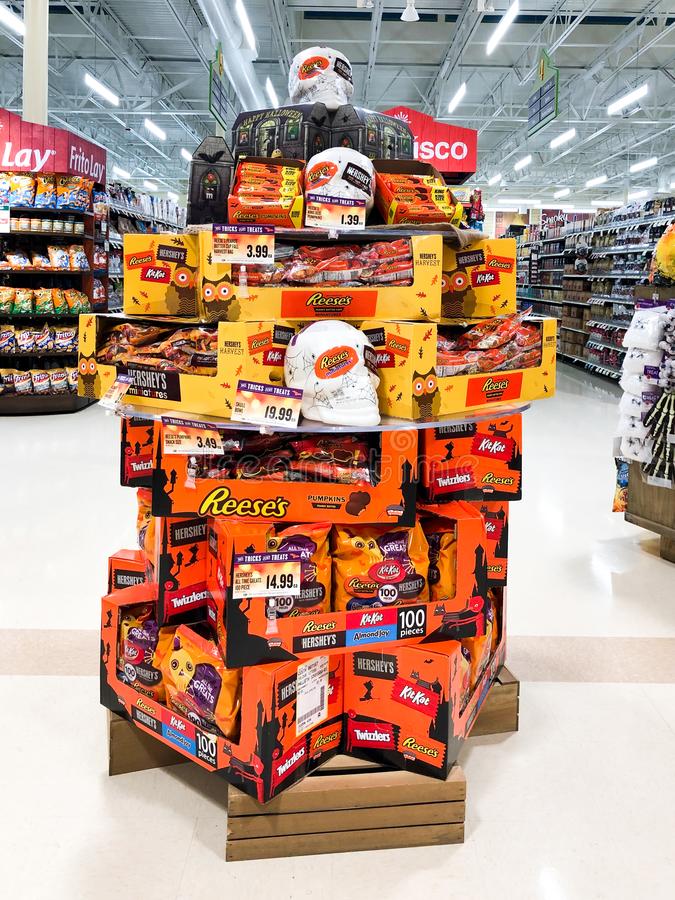
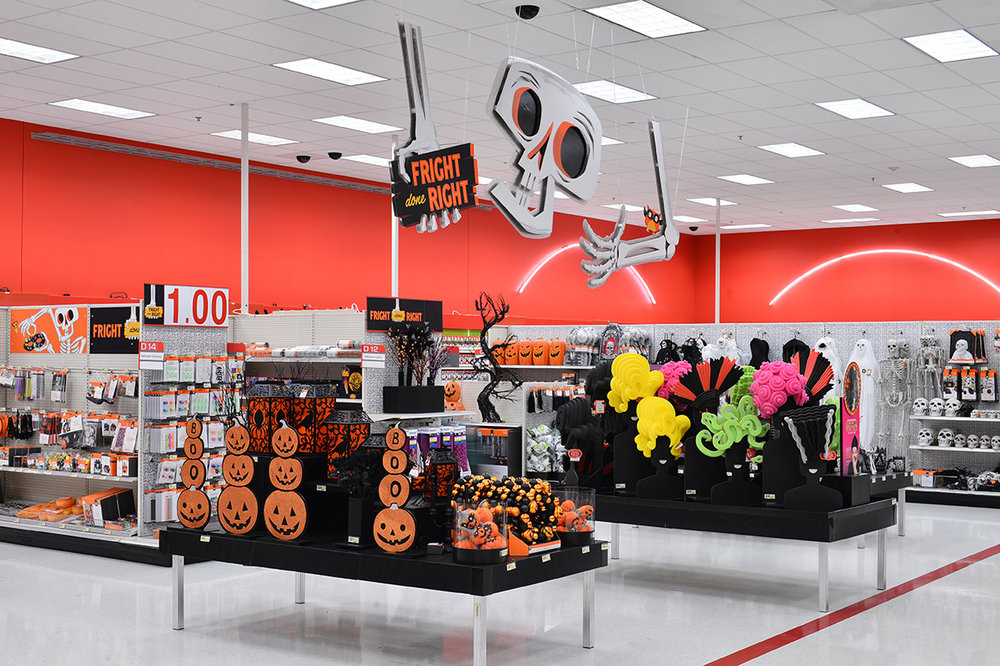
4. Applications / Examples
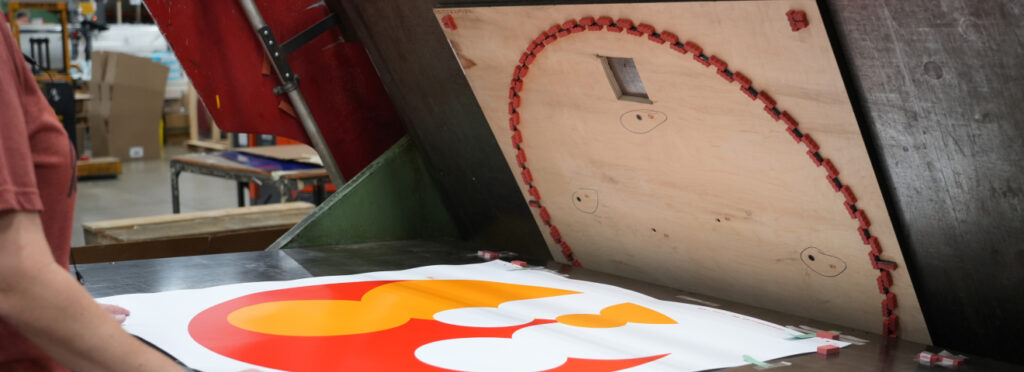
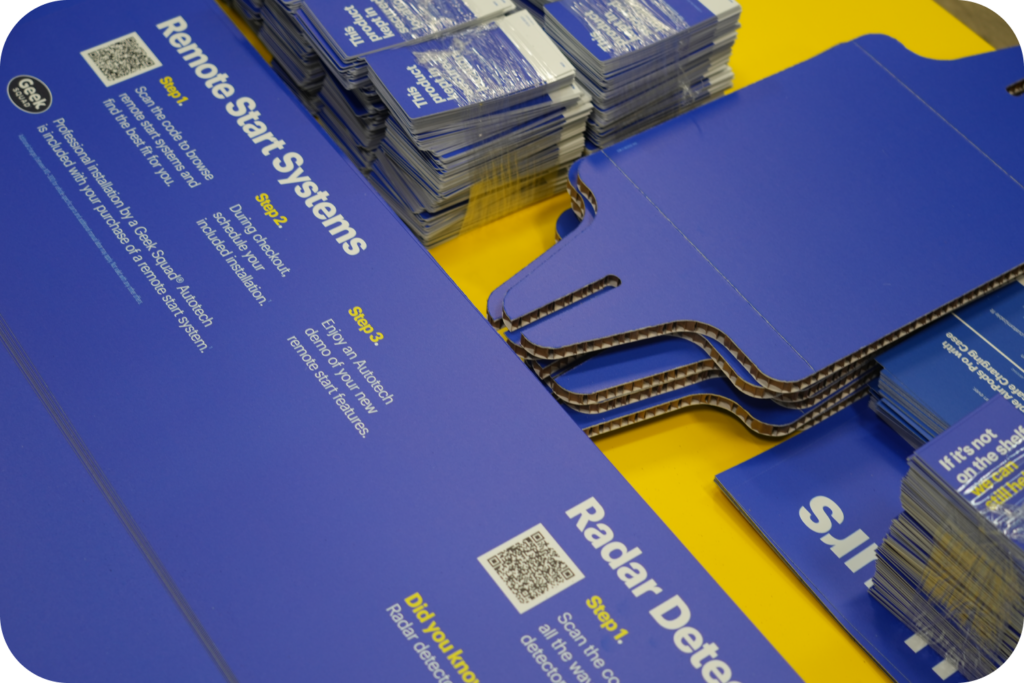
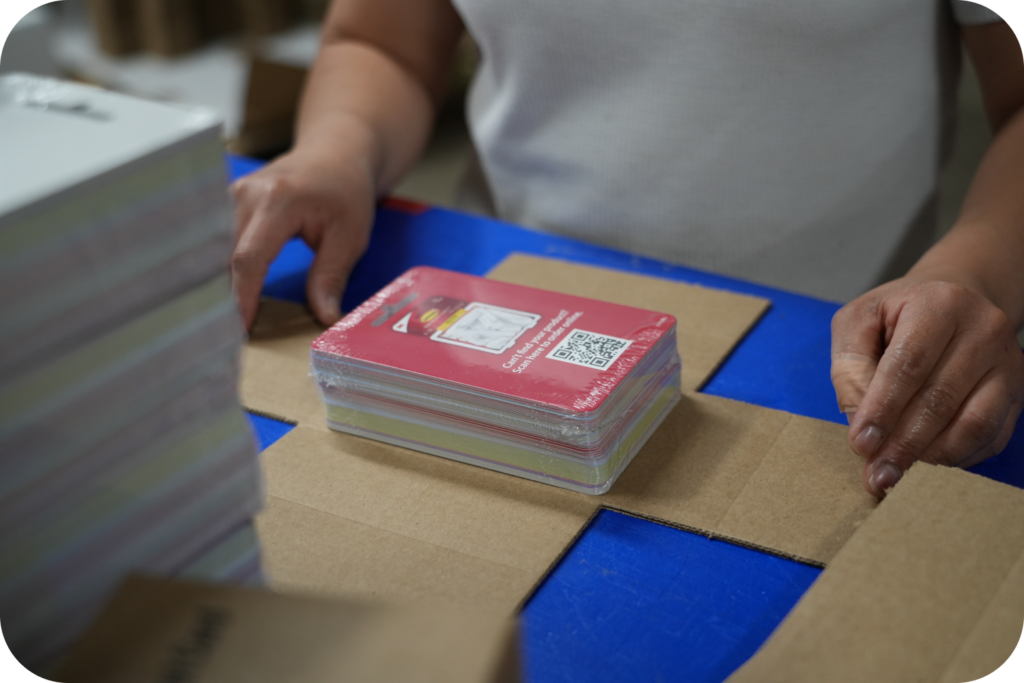
Due to our comprehensive all-in-house manufacturing capabilities, we are positioned well to print a wide variety of products – including scents! Typical applications include packaging, retail displays, wall graphics, postcards, brochures, signage, posters, displays, and labels.
5. Facts
- Researchers at Washington State University discovered that people spent 20% more while shopping in the presence of one simple scent (orange, in this case) compared with those shopping with no scent or more complex scents (e.g. orange-basil blended with green tea)
- GfK MRI researched 6,514 ads during a four-month period – of those ads, only 49 used scented printing. The scented printed ads received a 19% lift in reader engagement compared to those that didn’t.
- Mitsubishi utilized a scratch and sniff ad that simulated the leather smell that consumers love and associate with a new car; as a result, the Lancer Evo X sold out in two weeks, and Mitsubishi’s annual sales of the vehicle increased 16% in a market that averaged a 20% decline
- Yankee Candle added scent to its catalog – sales increased 18%
- A study carried out at the Rockefeller University shows that in the short term we remember just 1% of what we touch, 2% of what we hear, 5% of what we see, 15% of what we taste and 35% of what we smell.
- A study by Samsung found that consumers who were exposed to a company scent underestimated their actual shopping time by 26% and visited three times as many product categories or departments.
We want you to grow your revenue and we want you, personally and within your career, to win! Visual communication is awesome, but it takes more than just good artwork, or a well-structured design to get a consumer to buy a product. It’s a balanced recipe of great design, affordable manufacturing cost, clever placement and judicious use of resources. We are here to help!