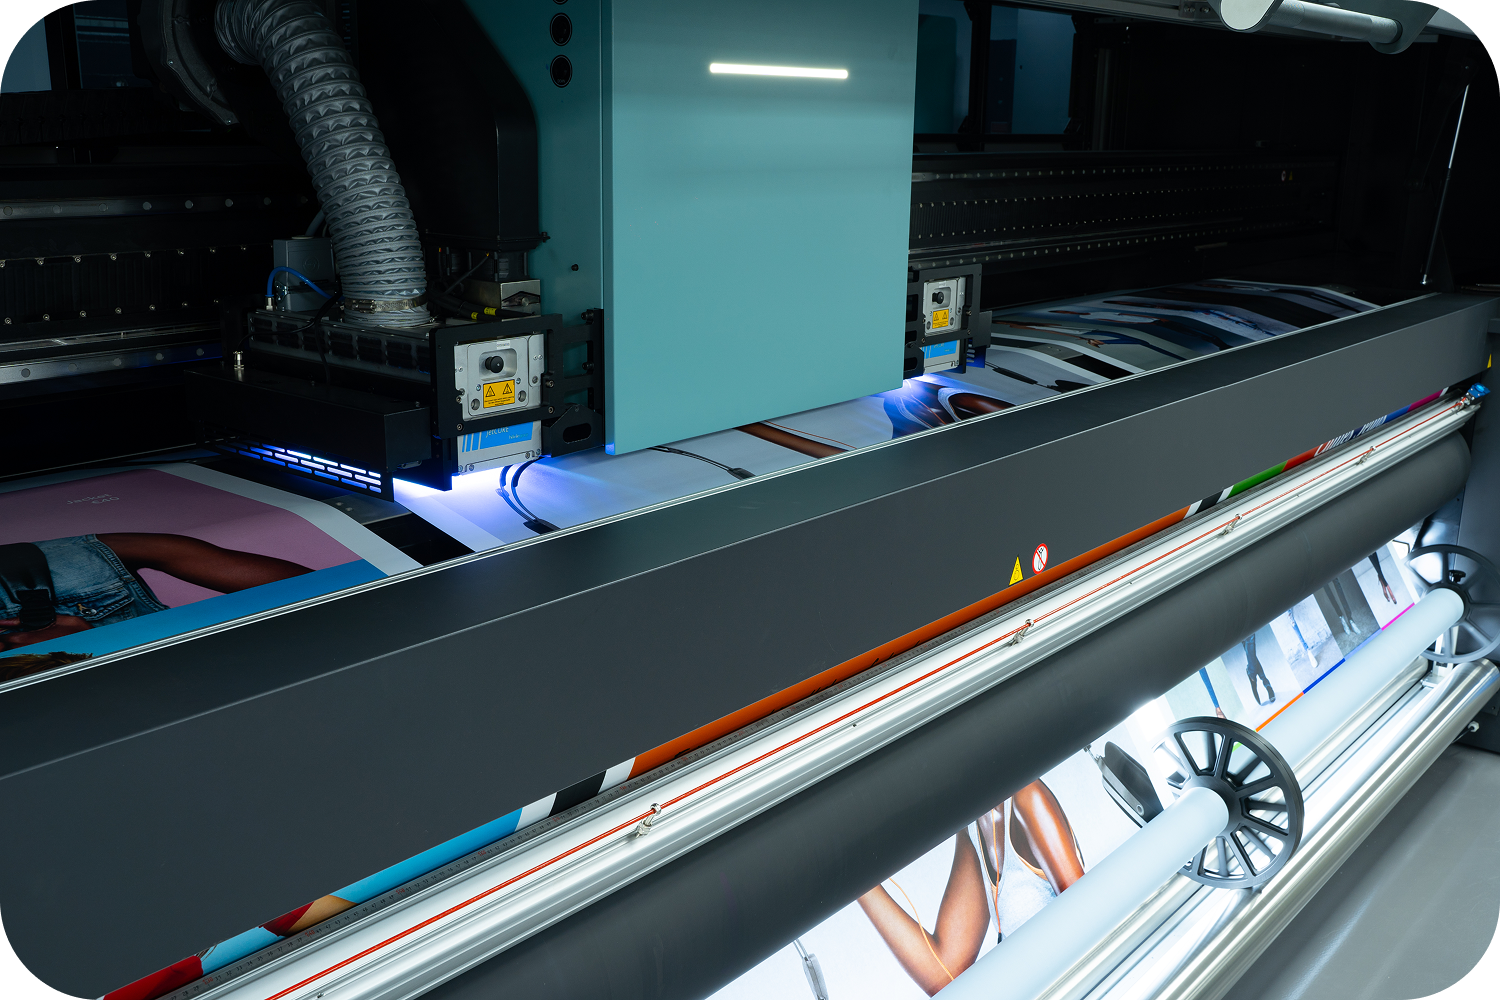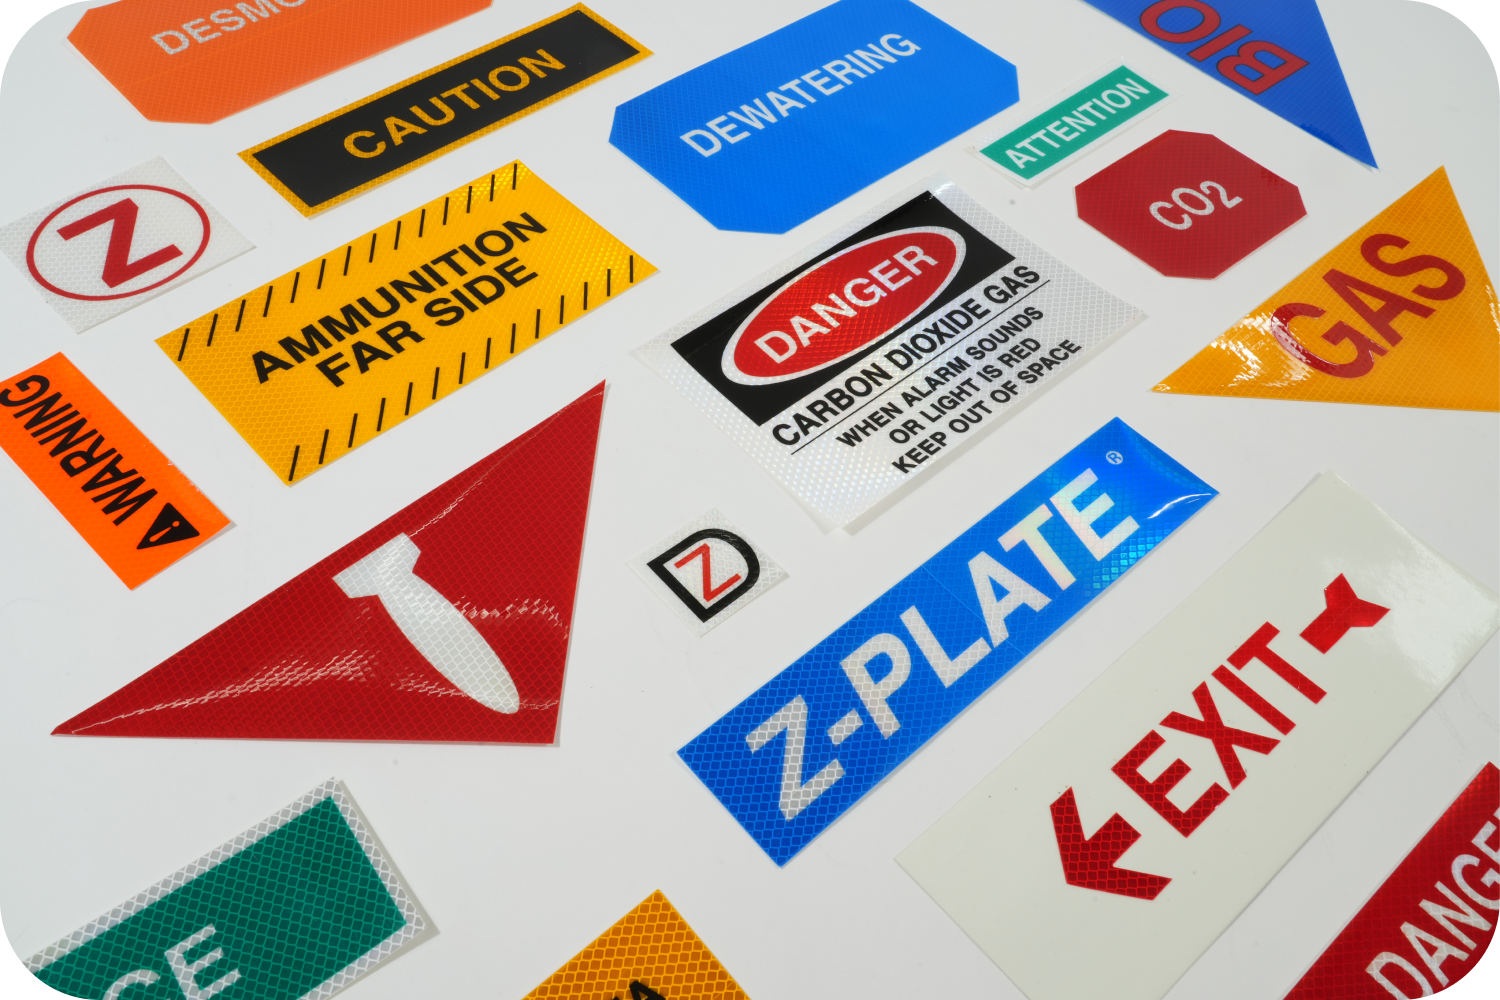

When you’re choosing a manufacturing partner, quality and consistency aren’t just nice-to-haves — they’re everything. That’s why ISO 9001 certification is often seen as the gold standard for manufacturing excellence around the world.
But what does ISO 9001 actually mean, and why should it matter to your business? Let’s break it down.
1. What Is ISO 9001?
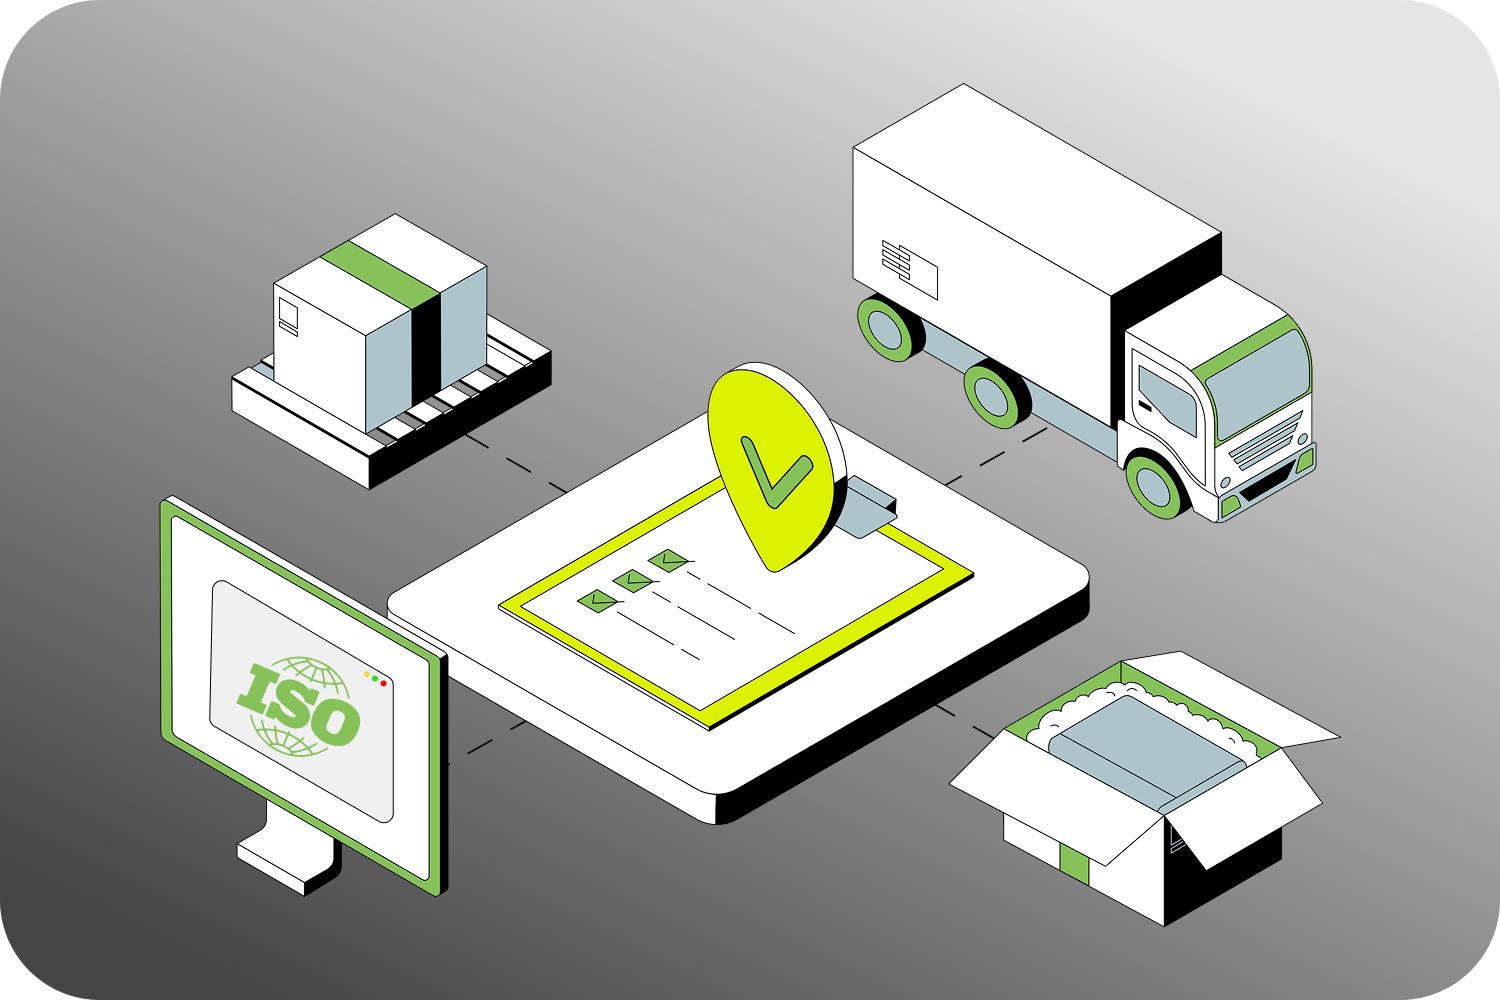
ISO 9001 is an internationally recognized standard for Quality Management Systems (QMS), developed by the International Organization for Standardization (ISO).
In simple terms, it’s a framework that helps us ensure that:
- Every process is clearly defined and documented,
- Products meet consistent quality standards, and
- Customer satisfaction drives every decision.
To achieve ISO 9001 certification, we must undergo a rigorous third-party audit that reviews everything from production processes and training to recordkeeping and customer service practices.
The certification isn’t permanent, either — it requires ongoing audits and continuous improvement to maintain compliance.

2. Why ISO 9001 Matters in Manufacturing
In an industry where precision, timing, and reliability are critical, ISO 9001 creates confidence for both the manufacturer and the customer.
Here’s how it delivers real-world benefits:
- Consistent Quality – ISO-certified systems ensure repeatable, reliable results from the first order to the hundredth.
- Continuous Improvement – Built-in reviews and audits push teams to identify and fix inefficiencies over time.
- Customer Satisfaction – The standard emphasizes understanding and meeting customer needs at every stage.
- Reduced Errors and Waste – Documented processes mean fewer mistakes, less rework, and stronger bottom-line performance.
- Global Recognition – ISO 9001 is trusted worldwide — a universal badge of quality that speaks for itself.

3. What ISO 9001 Means for Our Customers
For our customers, our recent ISO 9001 certification isn’t just a plaque on the wall — it’s a promise.
It means you can expect:
- Consistent results no matter the project size,
- Transparent communication at every step,
- Accountability and documentation you can rely on, and
- A partner who’s proactive about improving rather than reactive to problems.
This certification represents more than compliance — it reflects our culture of precision, accountability, and care.

4. Raising the Bar for What’s Next
Earning ISO 9001 certification is a milestone, but it’s also just the beginning. It pushes us to keep refining, measuring, and improving everything we do — from order intake to delivery.
We’re proud to hold this certification and even prouder of what it means for our customers: greater confidence, stronger partnerships, and world-class results.

Ready to see ISO 9001 quality in action?! Stay tuned for next month’s knowledge drop to learn more!
Or, if you can’t wait or want to see how our certified processes can elevate your project RIGHT NOW – click here, and we’ll talk today!