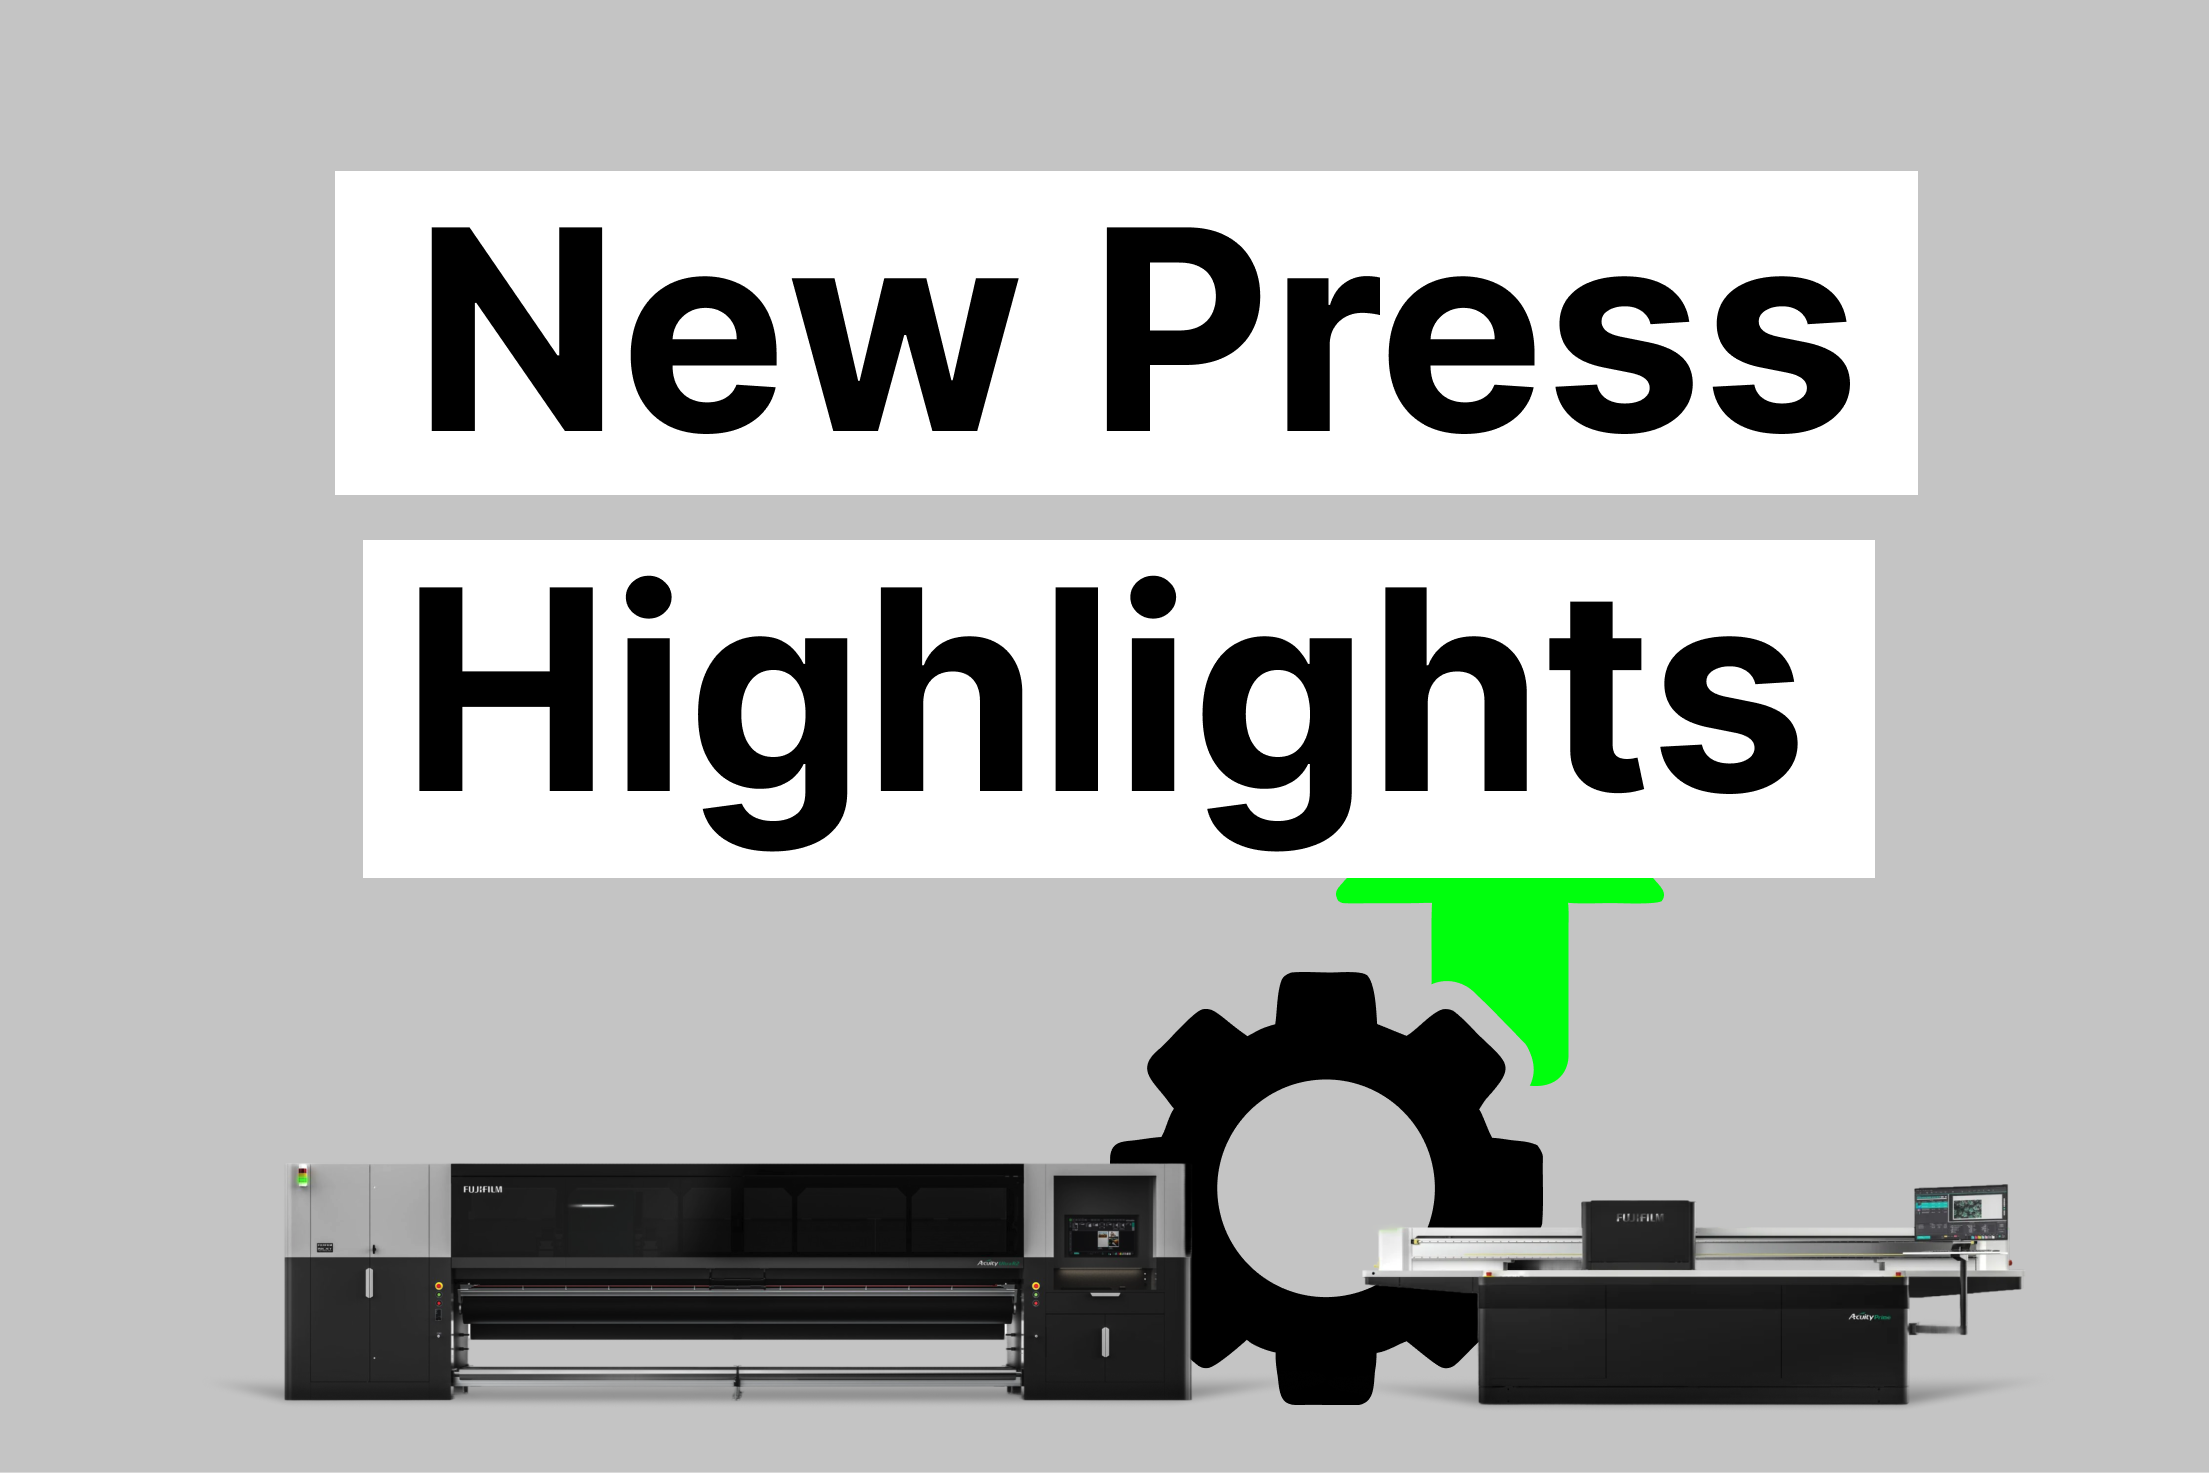
We’ve added 2 brand new presses to our digital department—and it’s not just about adding capacity. It’s about delivering better results, faster turnaround times, and more flexibility for every project that comes through our doors.
Here are are the key highlights that are already making a difference for you…
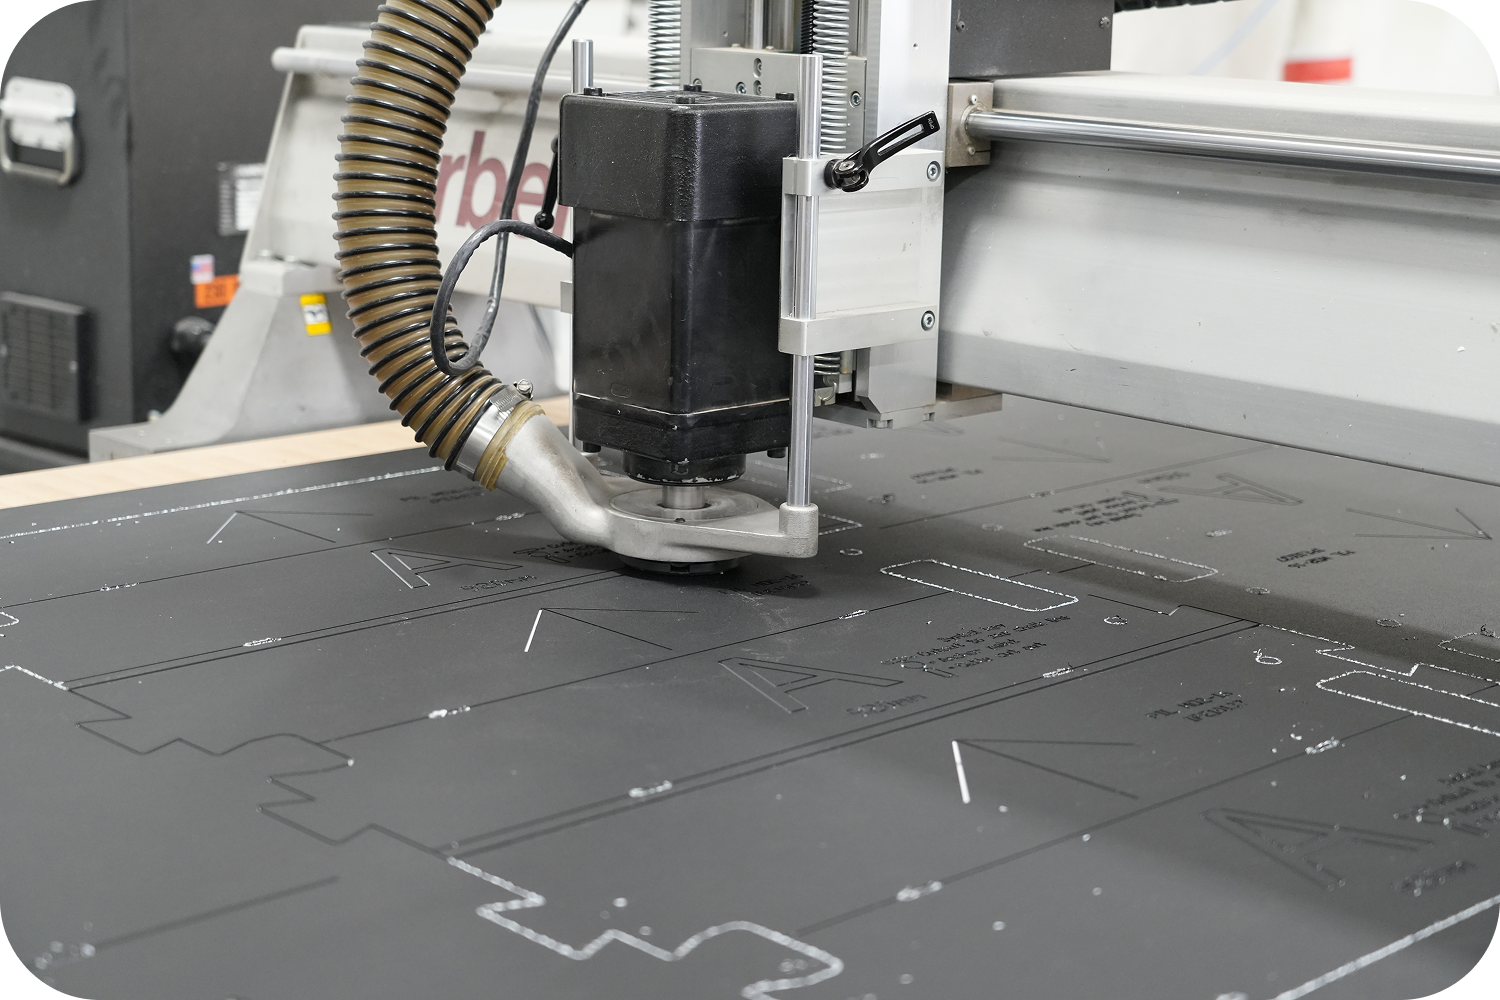
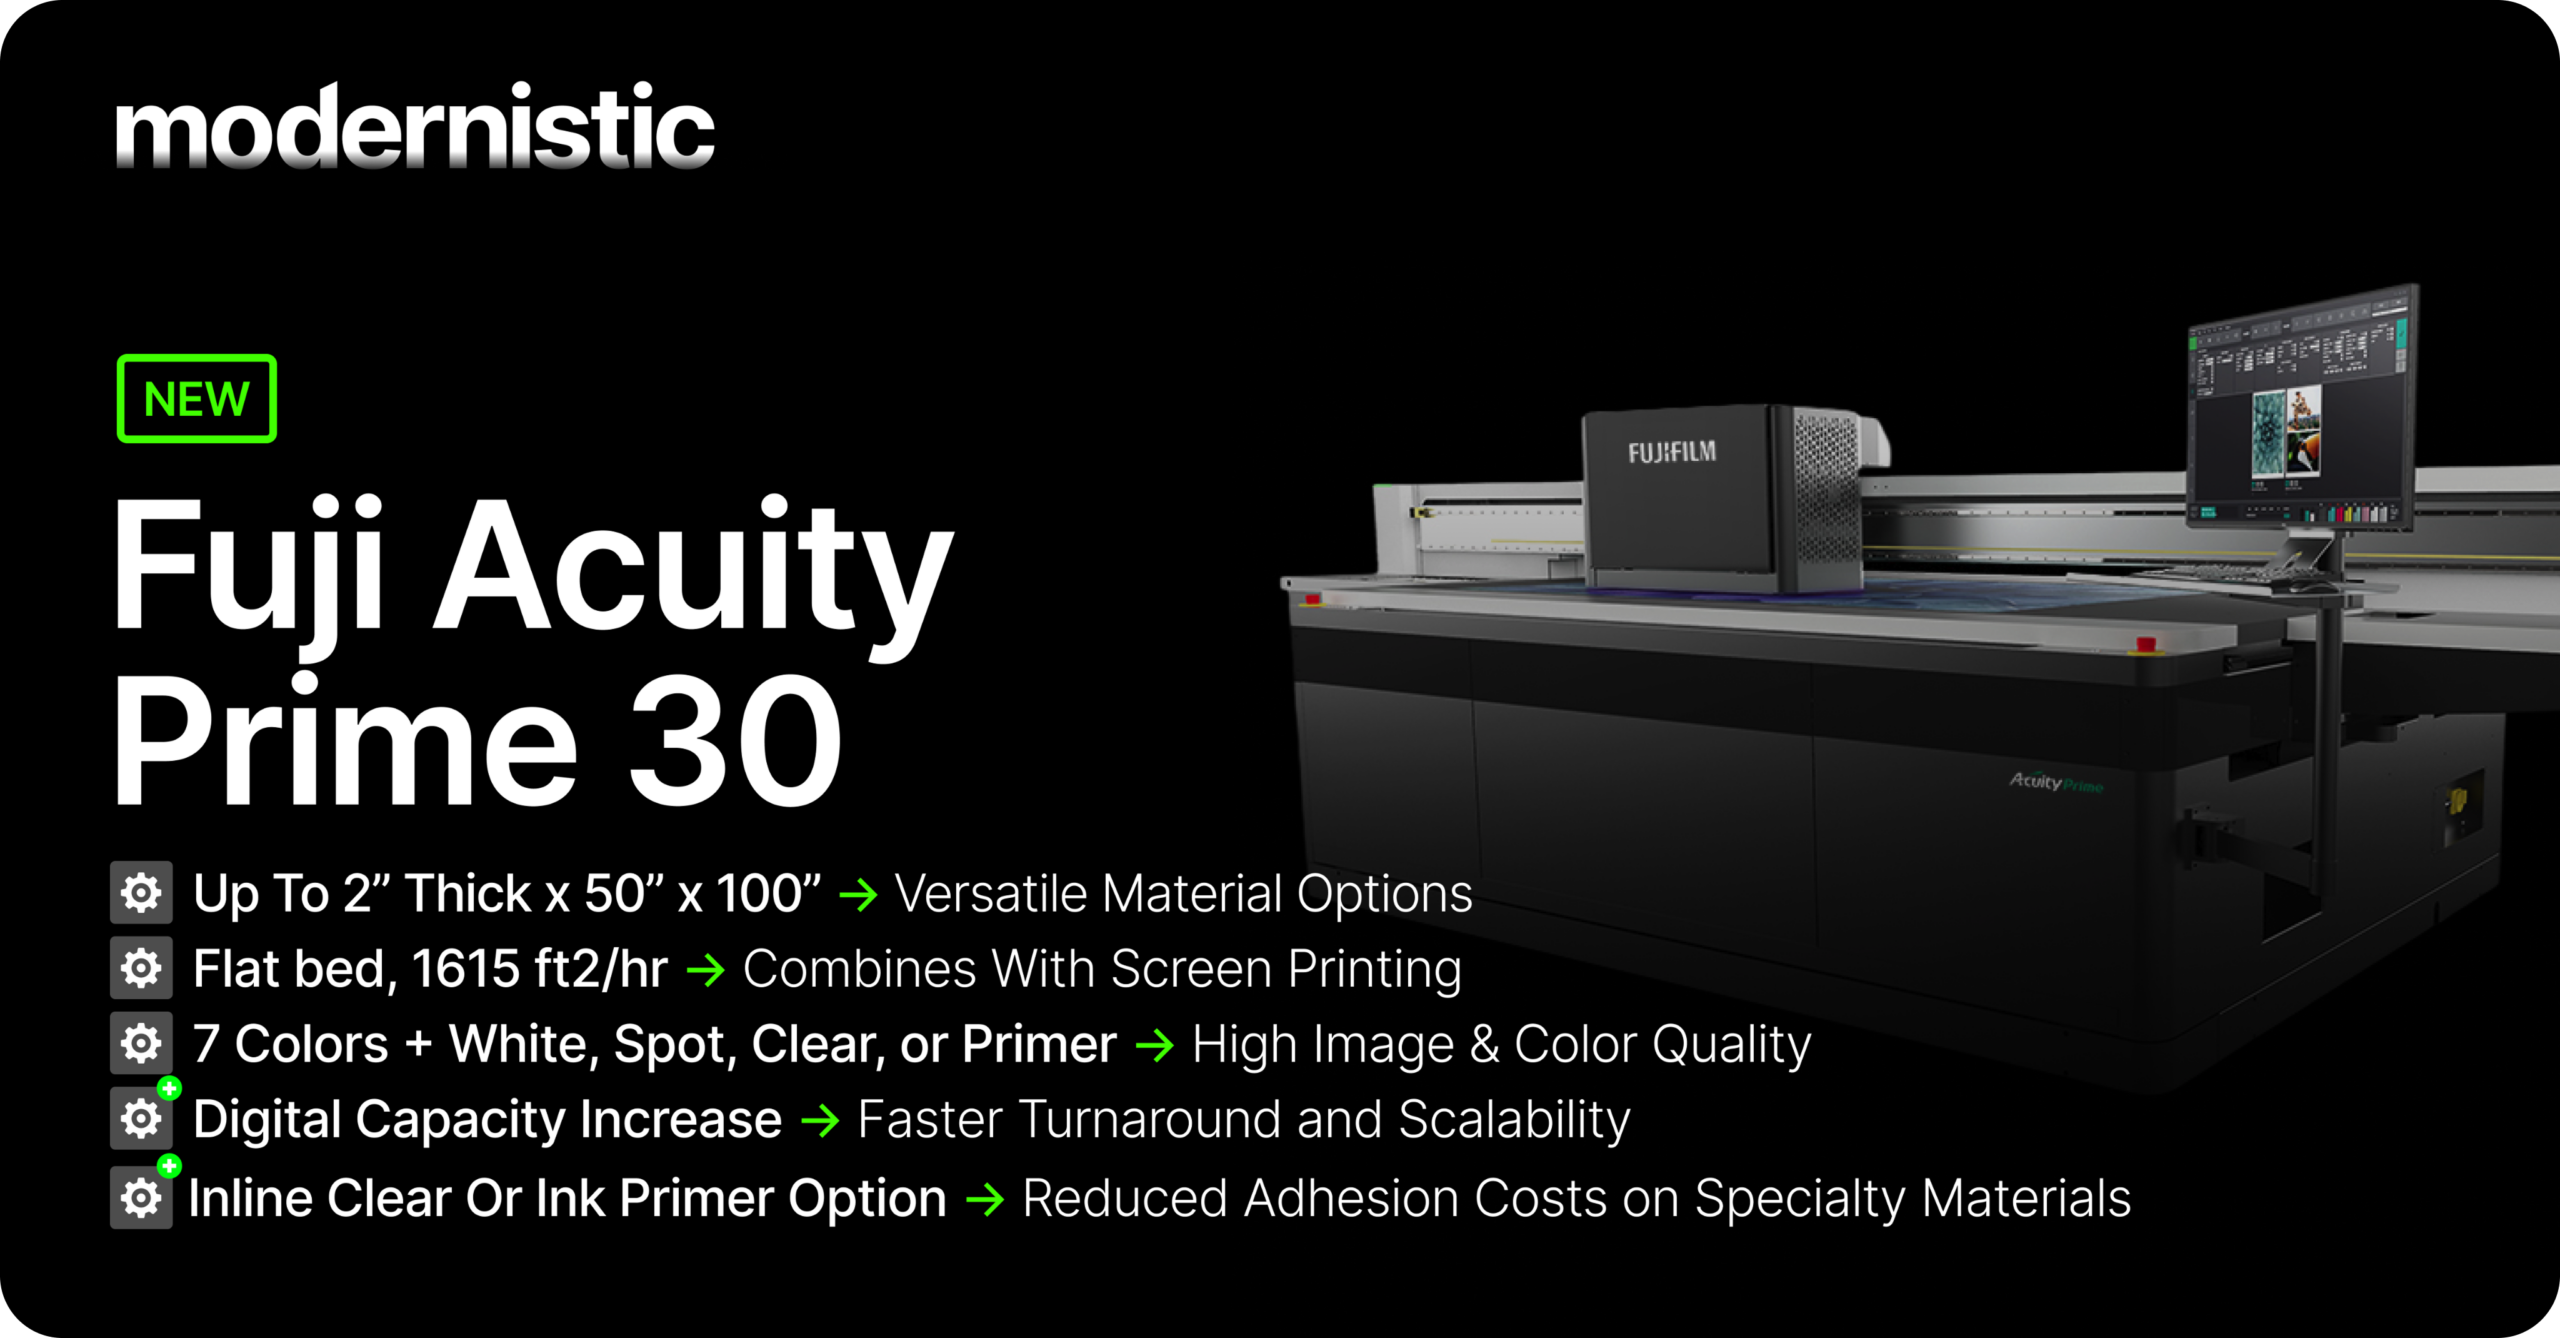
Key Highlights: Fuji Acuity Prime 30
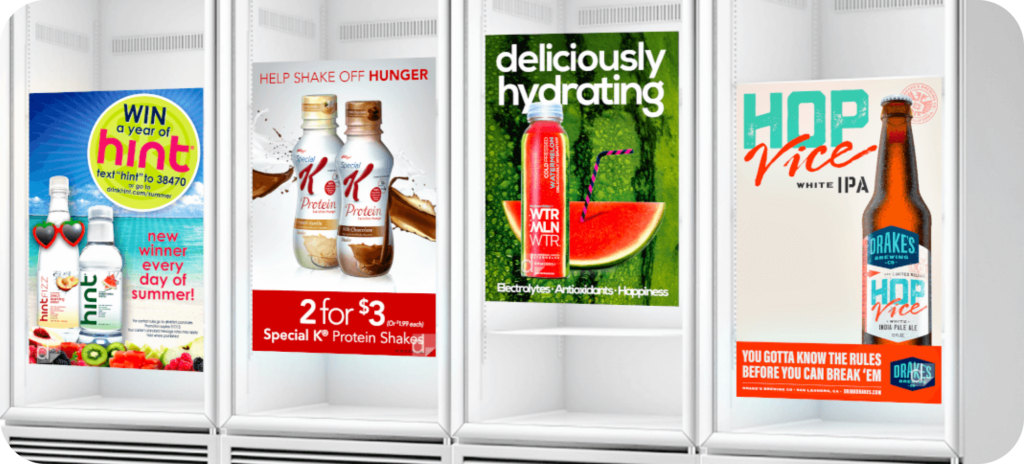
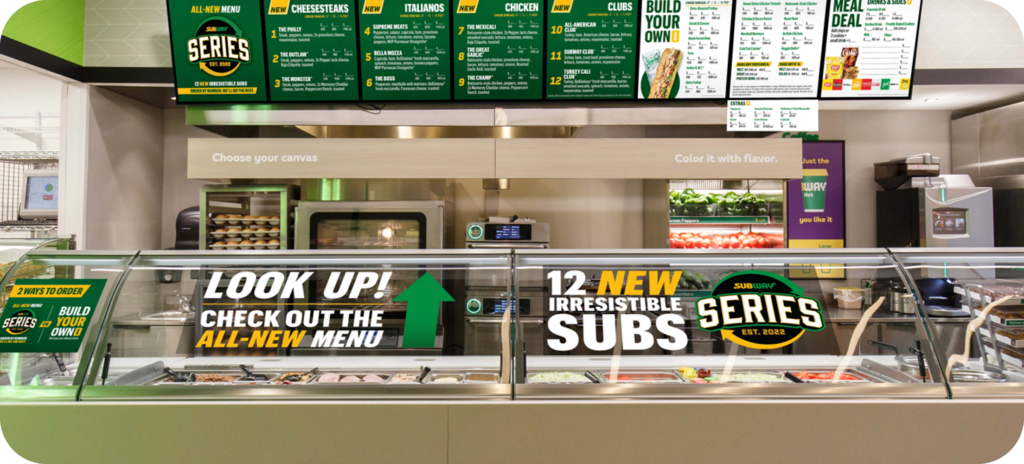
The Acuity Prime 30 is a precision flatbed built for rigid materials, delivering exceptional detail, smooth gradients, and consistent quality across every sheet—ideal for retail and display work.
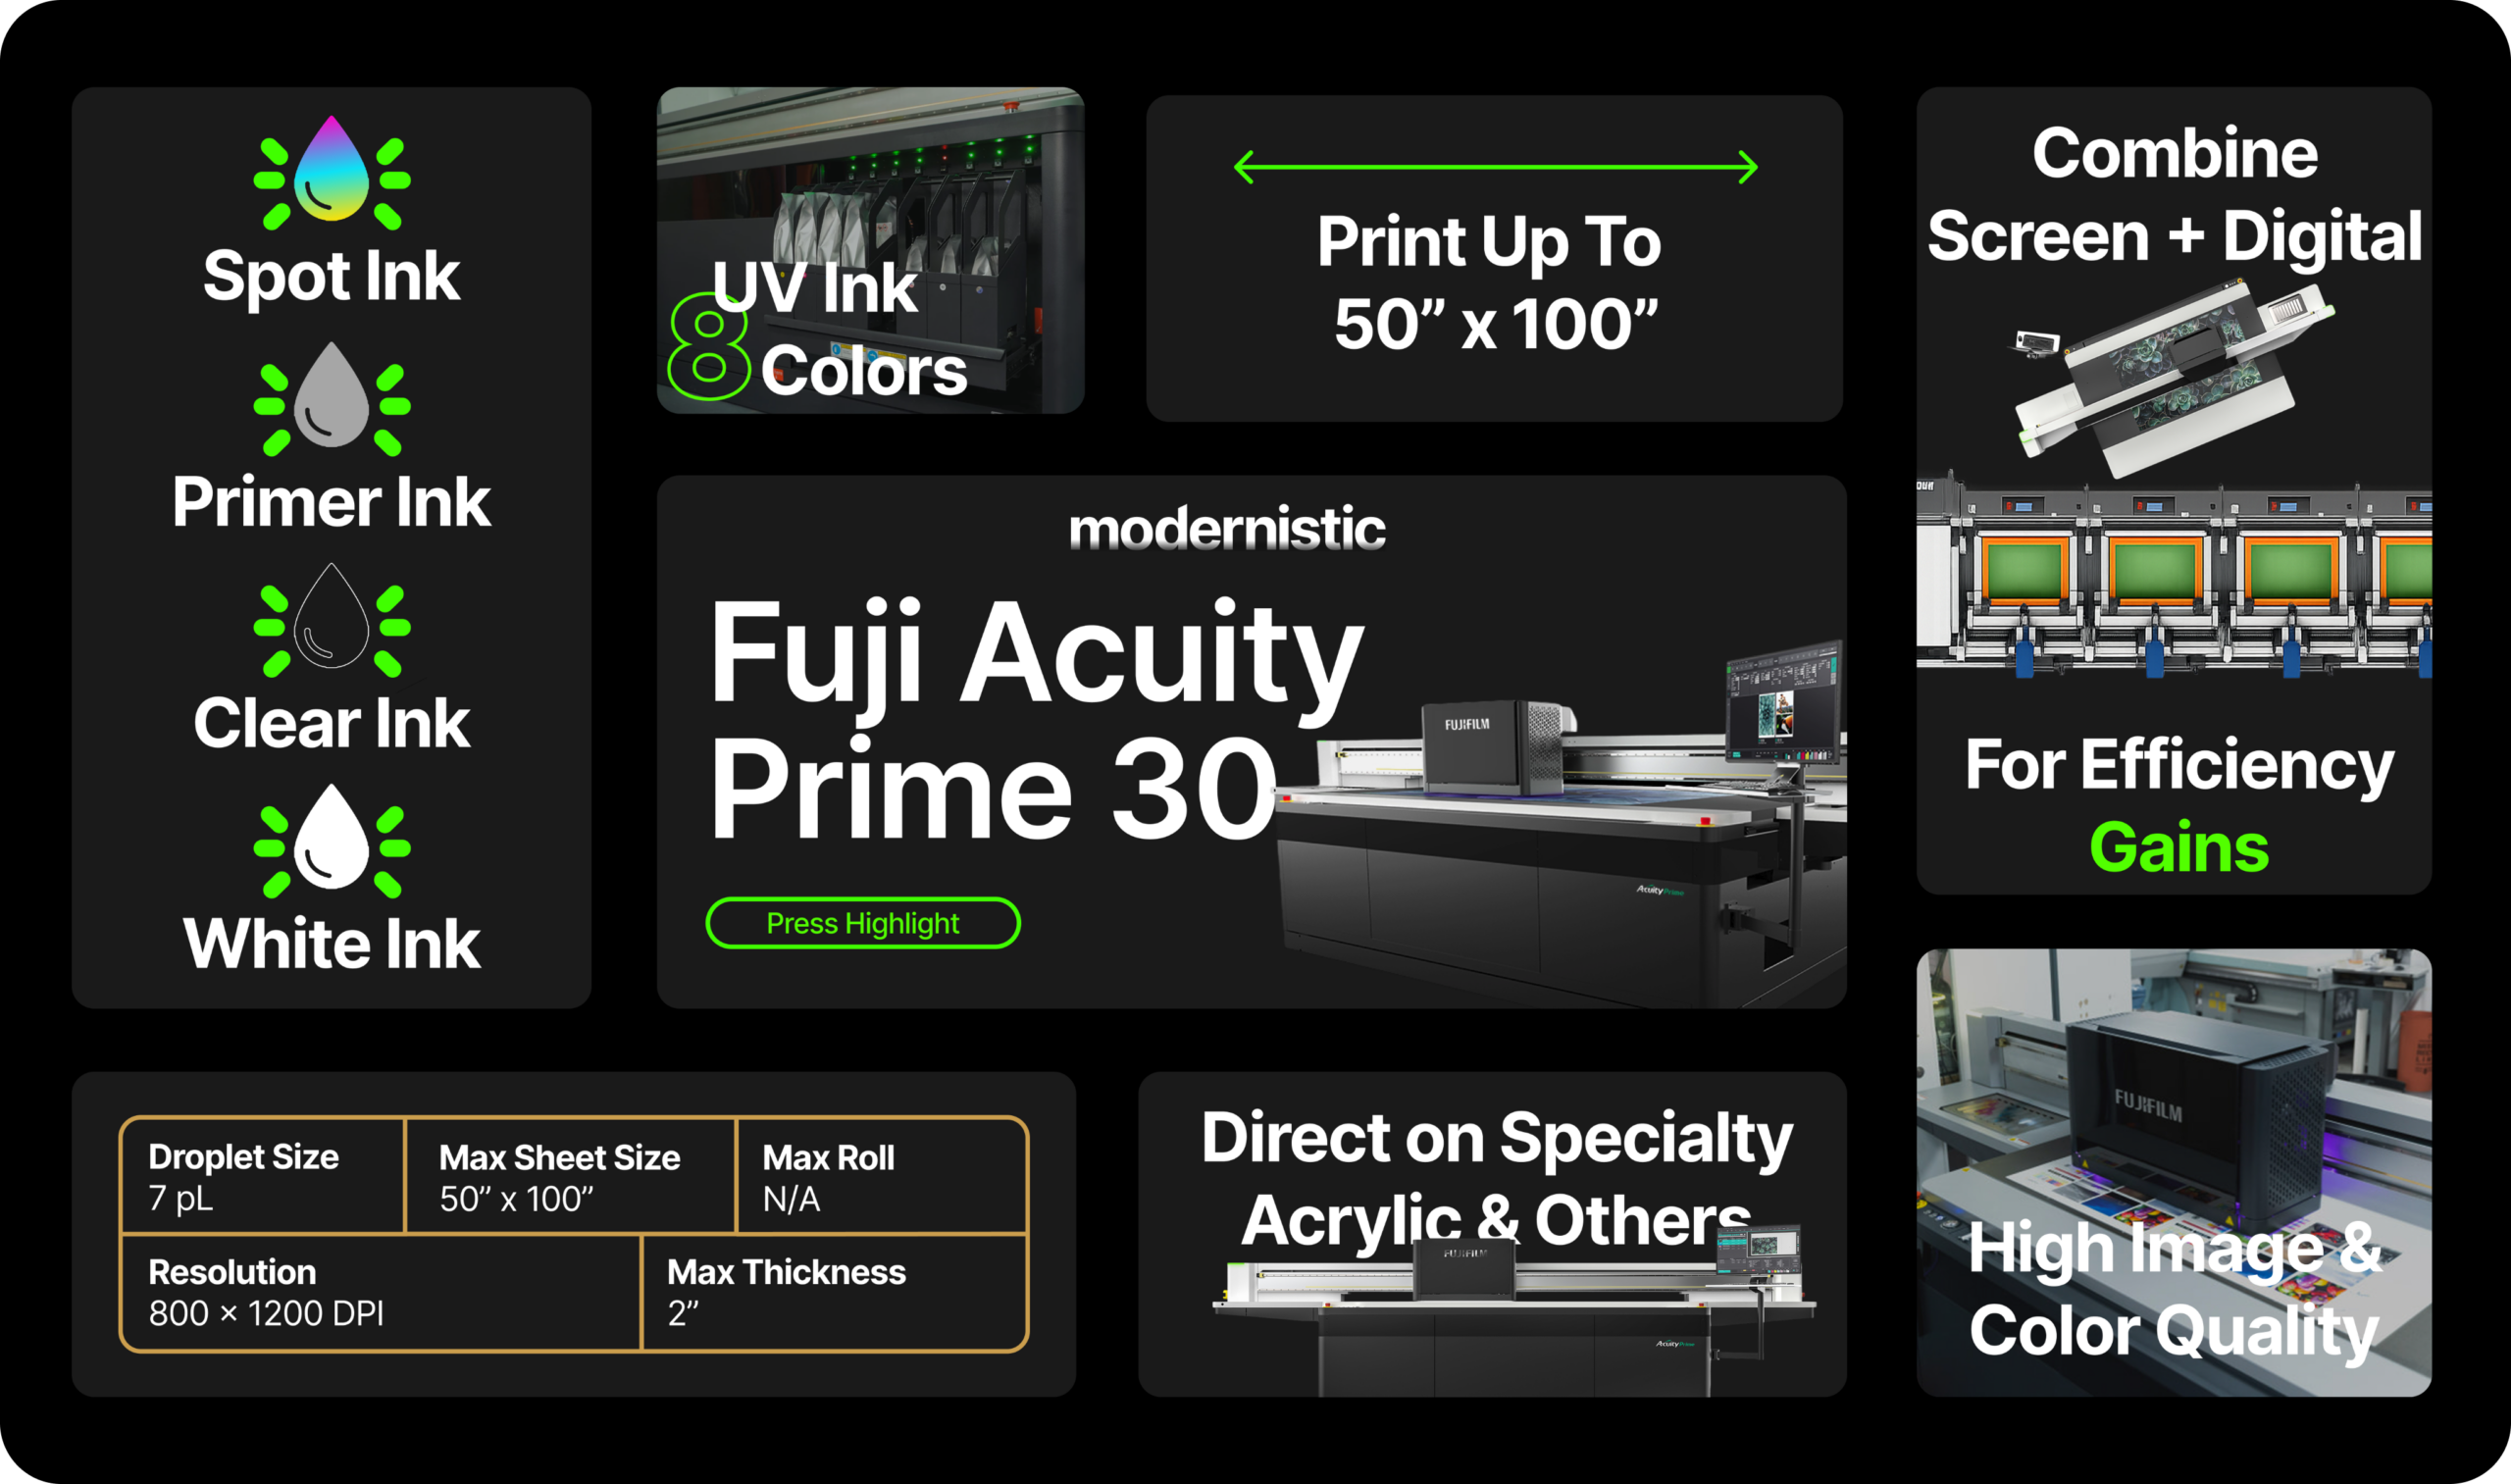
Specs: Fuji Acuity Prime 30
A 50″ x 100″ UV flatbed delivering up to ~3,000+ sq ft/hr, with high-resolution output, white/clear/primer ink options, and precise registration—ideal for rigid substrates and low surface energy materials like non-DA acrylic and glass, while pairing seamlessly with screen printing workflows.
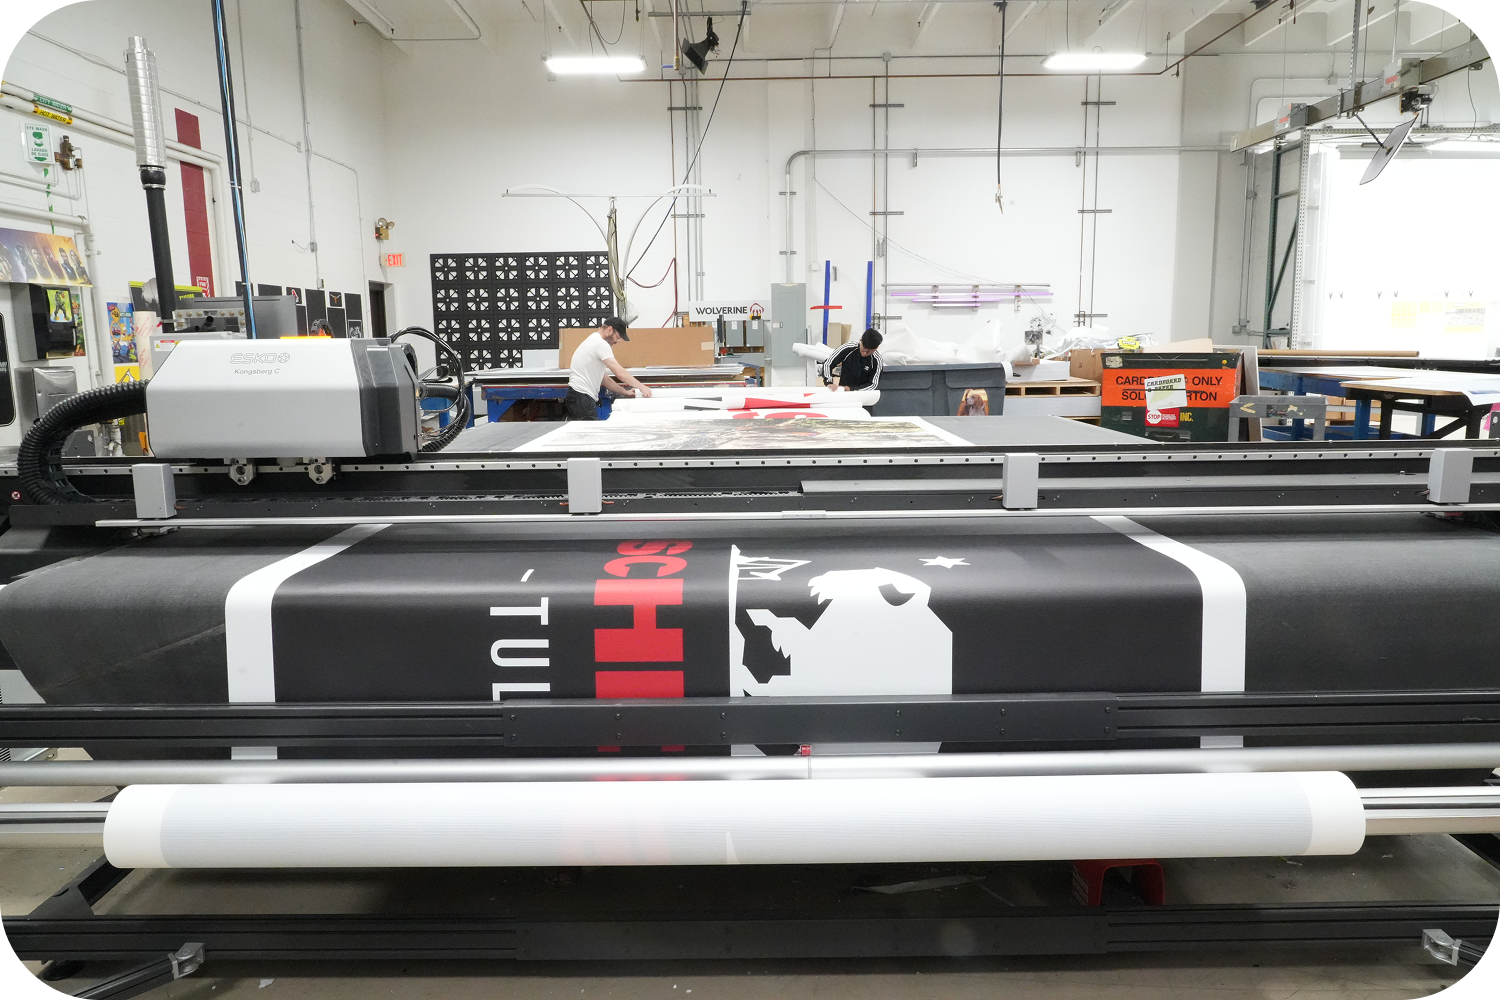
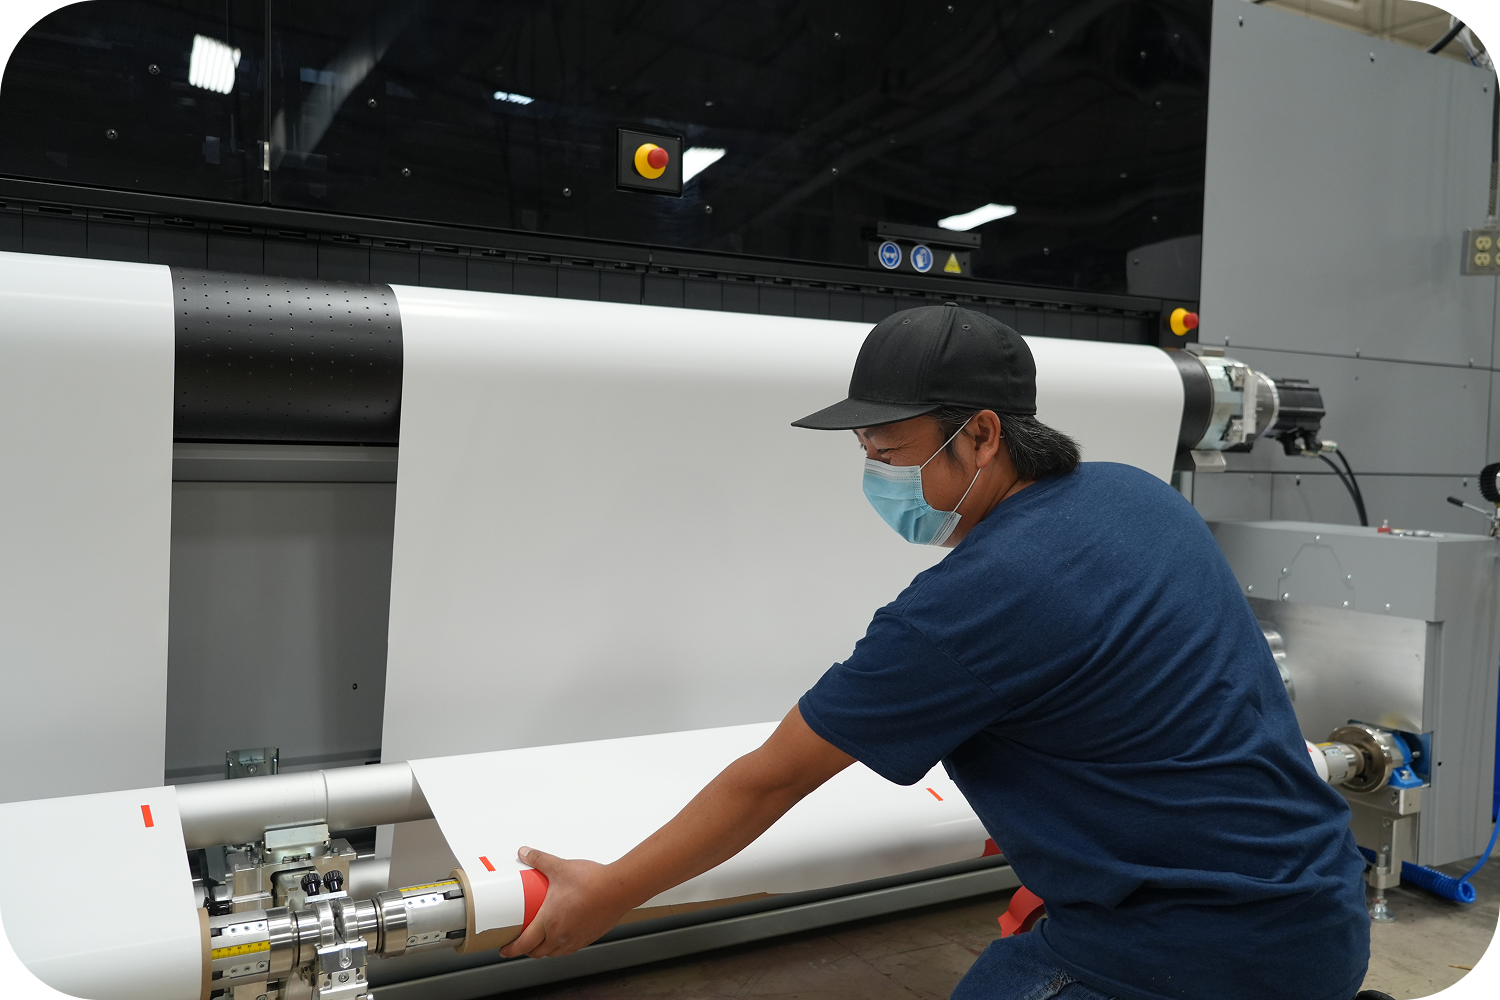
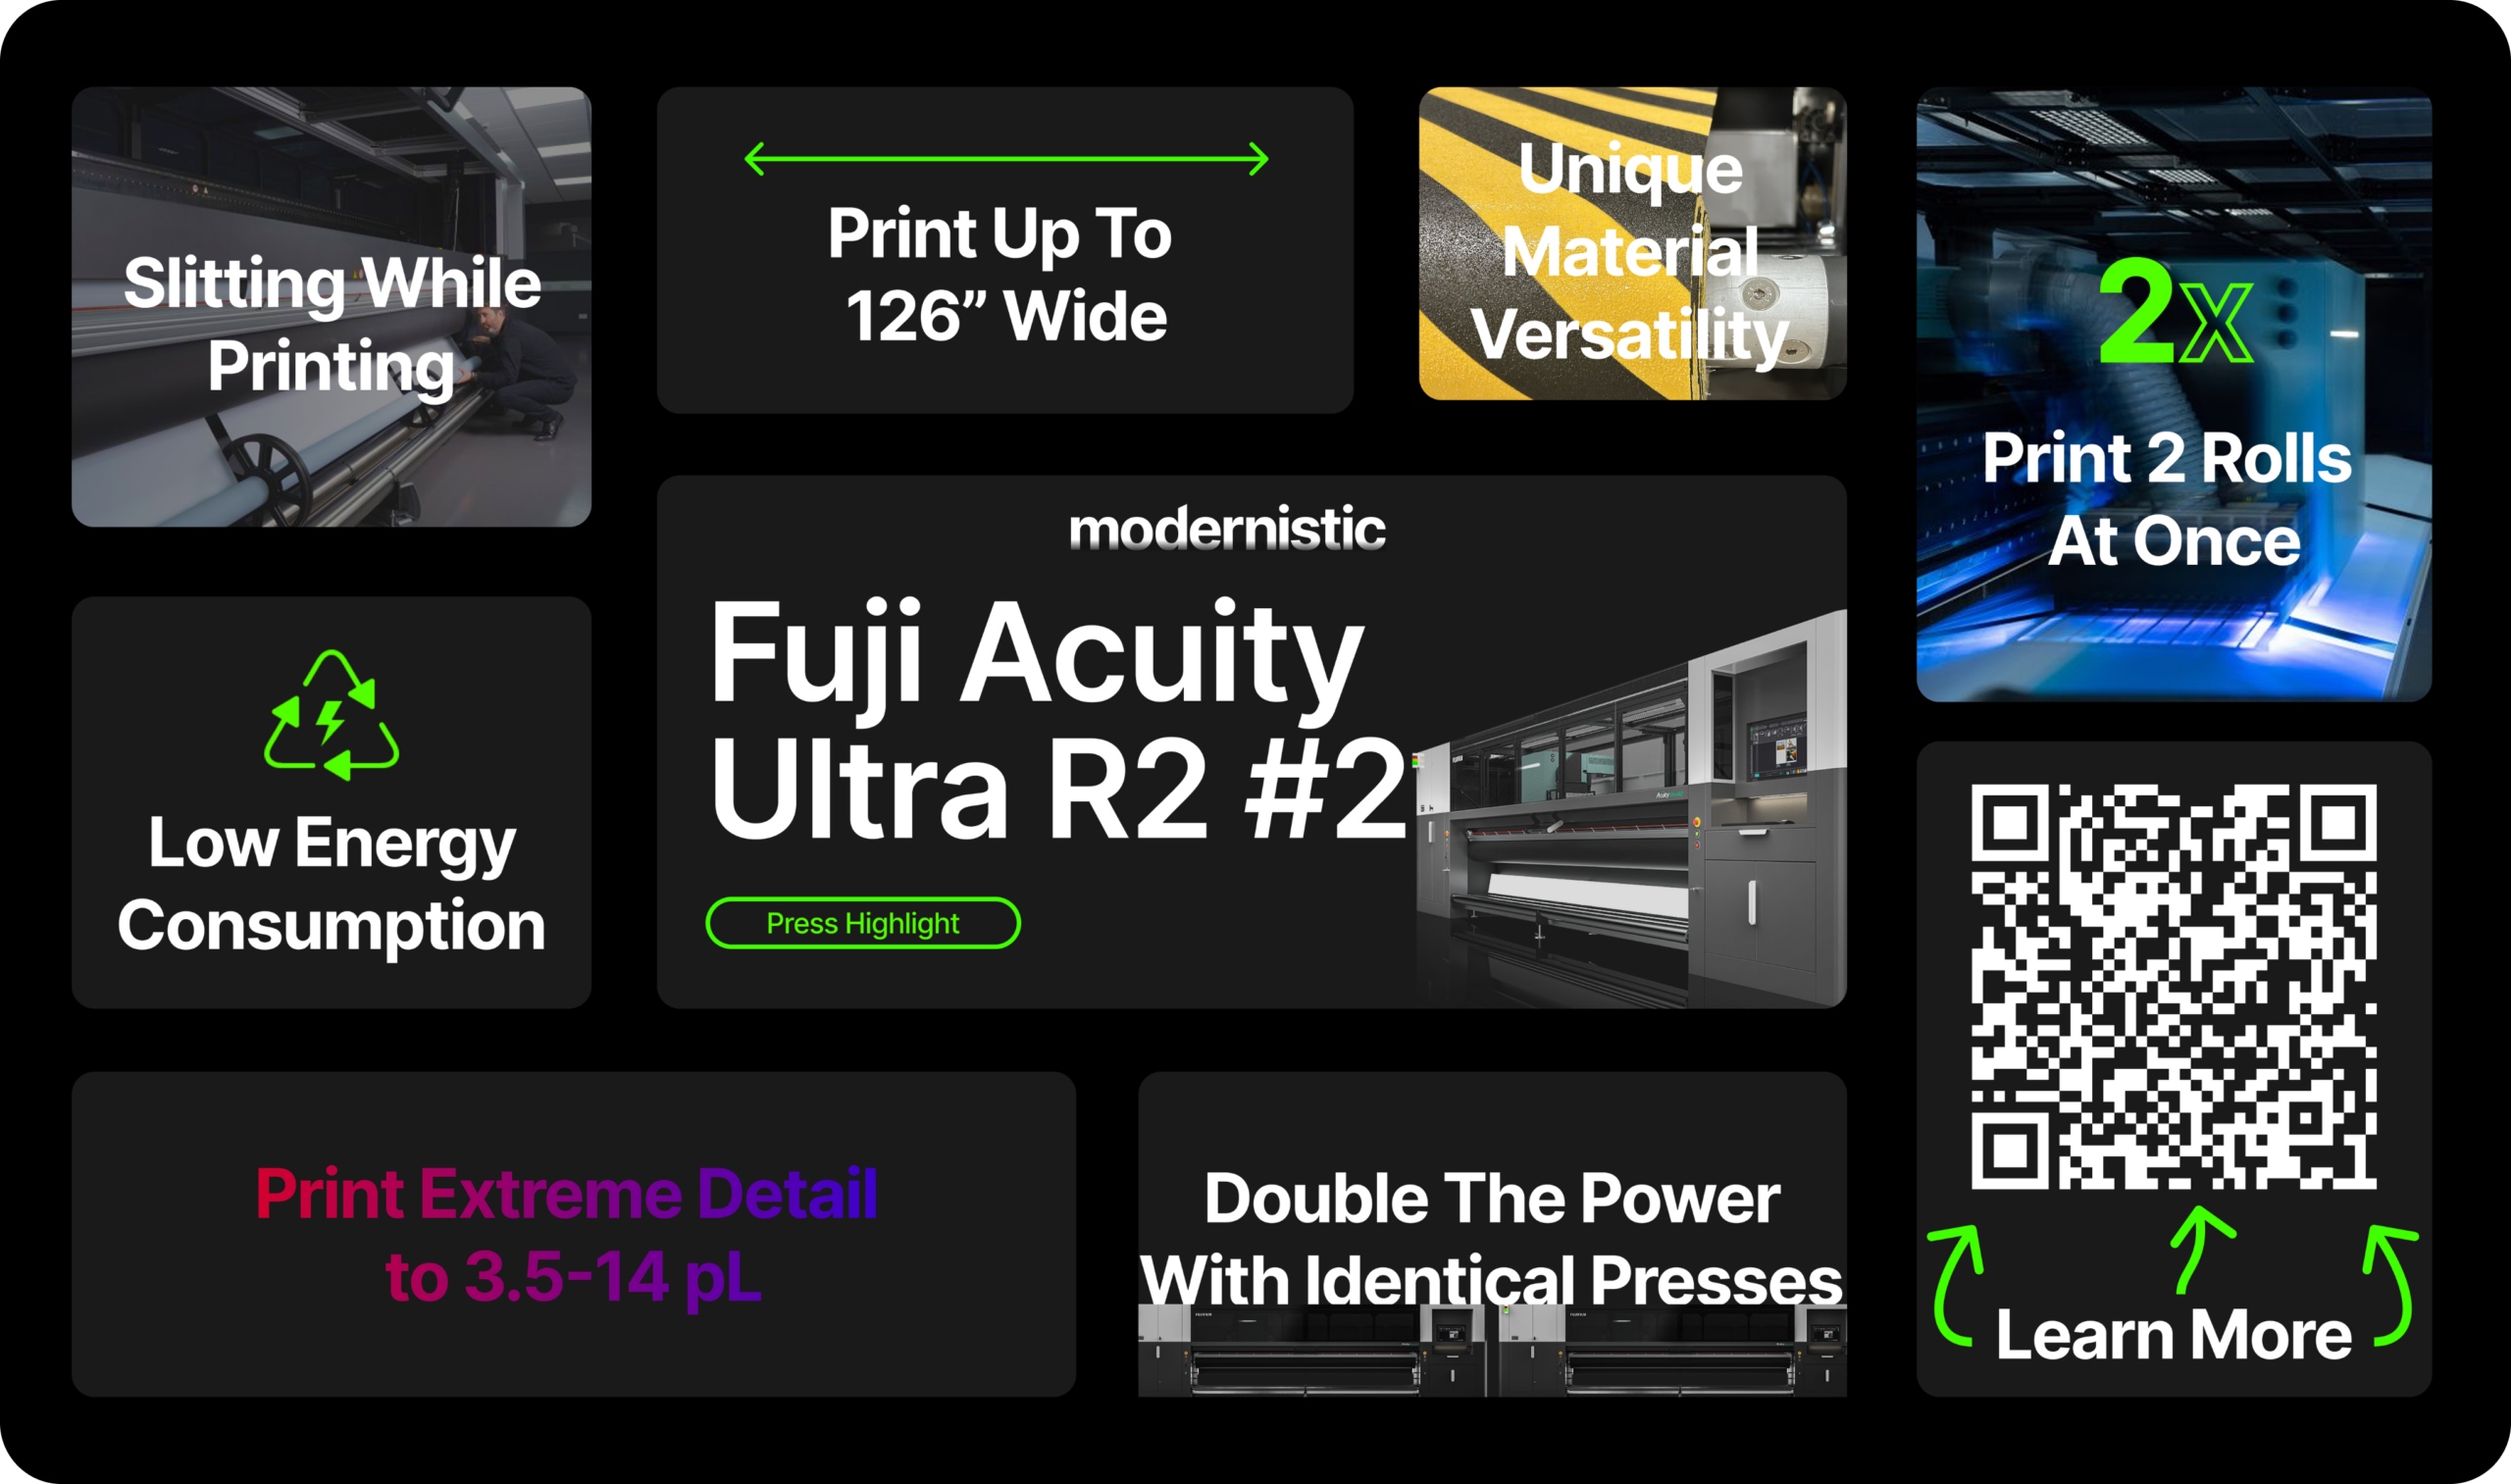
Key Highlights: Fuji Acuity Ultra R2 (#2)
Designed for true industrial throughput, the Ultra R2 delivers ultra-wide production with consistent color, unique substrate versatility, and uptime you can count on. It’s built for high-volume projects where speed and reliability are non-negotiable. Oh, and did I mention, we have 2 of them?!
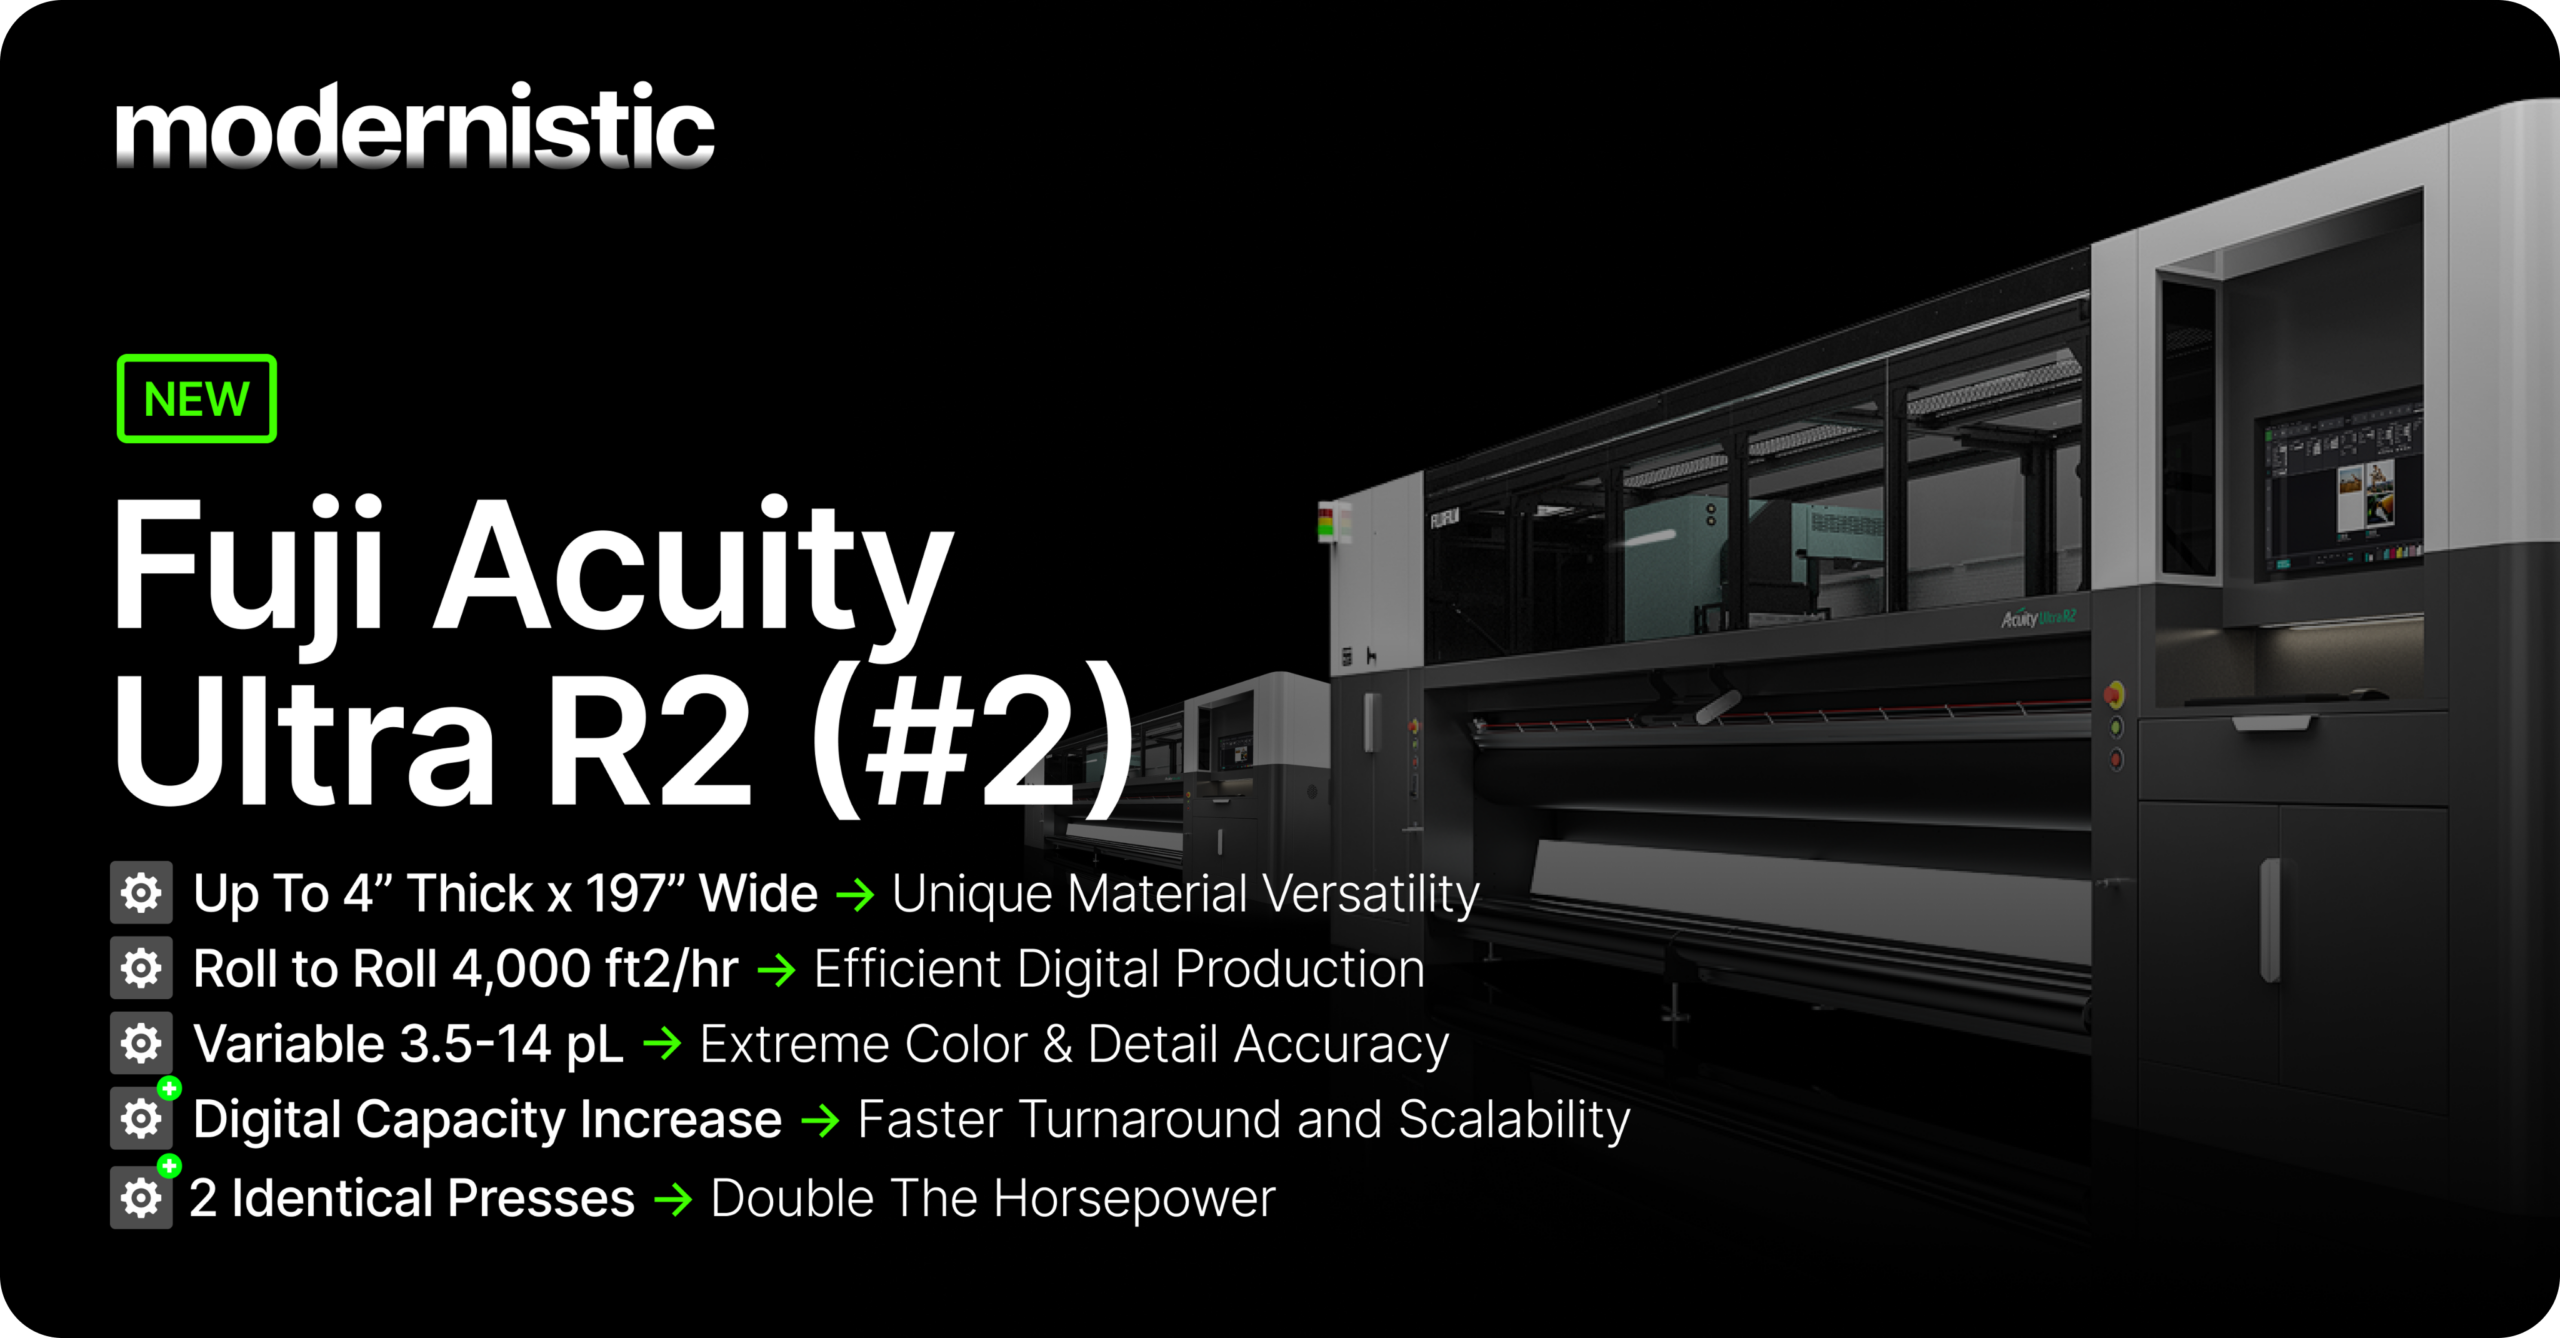
Specs: Fuji Acuity Ultra R2 (#2)
A grand format roll-to-roll UV press (up to ~5 meters / 197”) capable of 4,000+ sq ft/hr, with high-resolution output (up to ~1200 dpi) and multi-channel ink configurations for scalable, high-volume production. Learn more about this press with our in-depth dive into our first one: 8 features you’ll benefit from our new Fuji Acuity
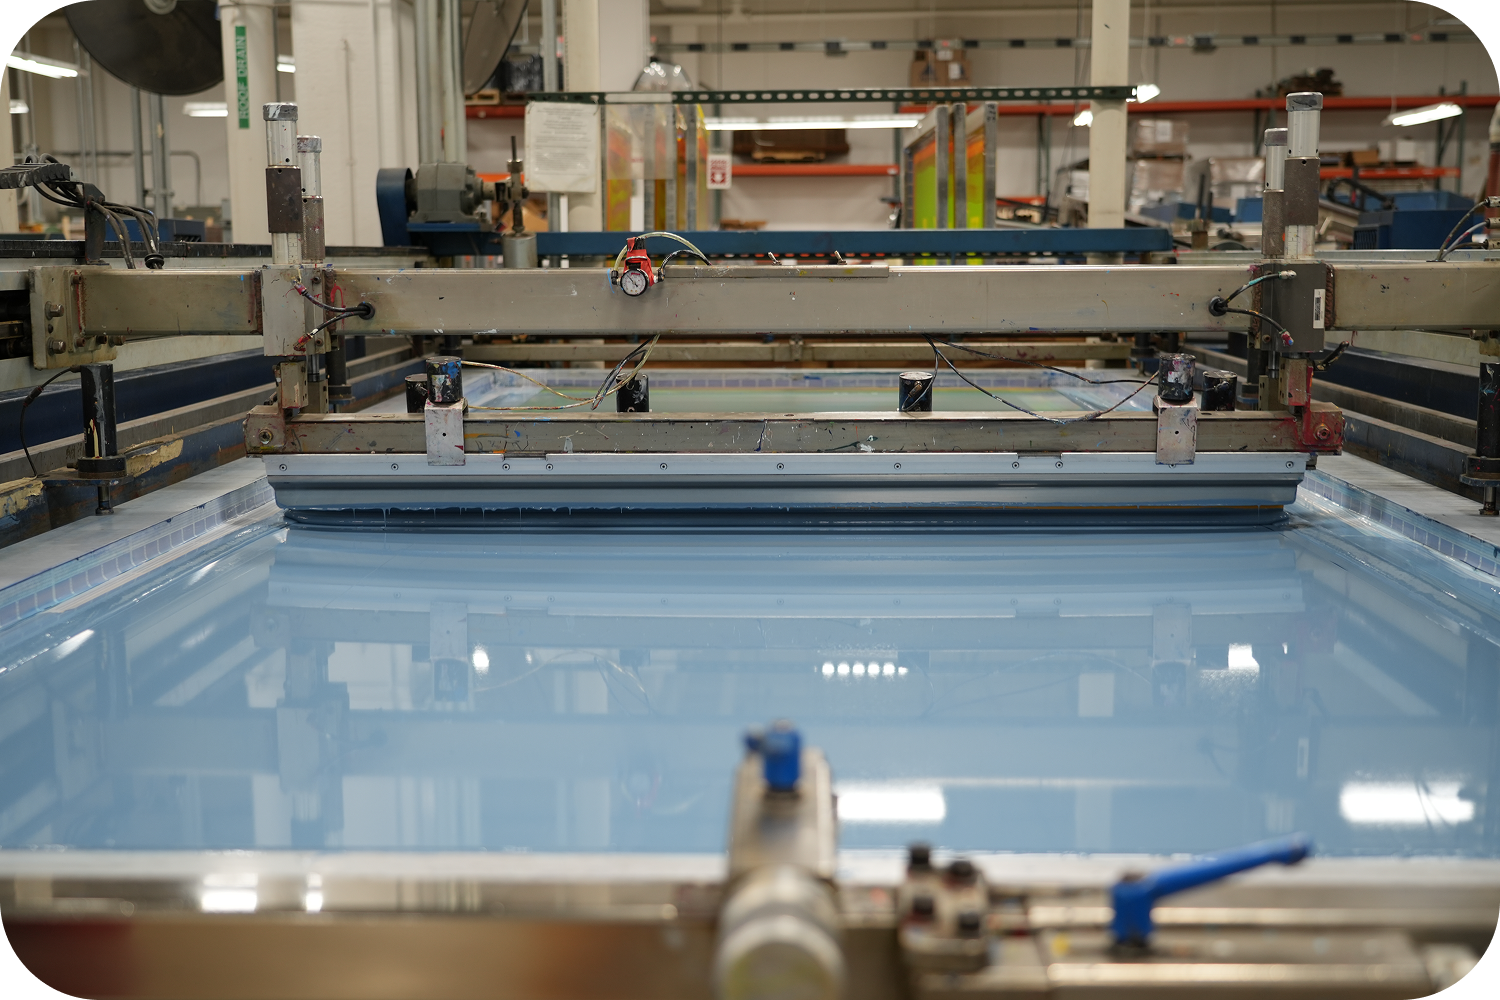
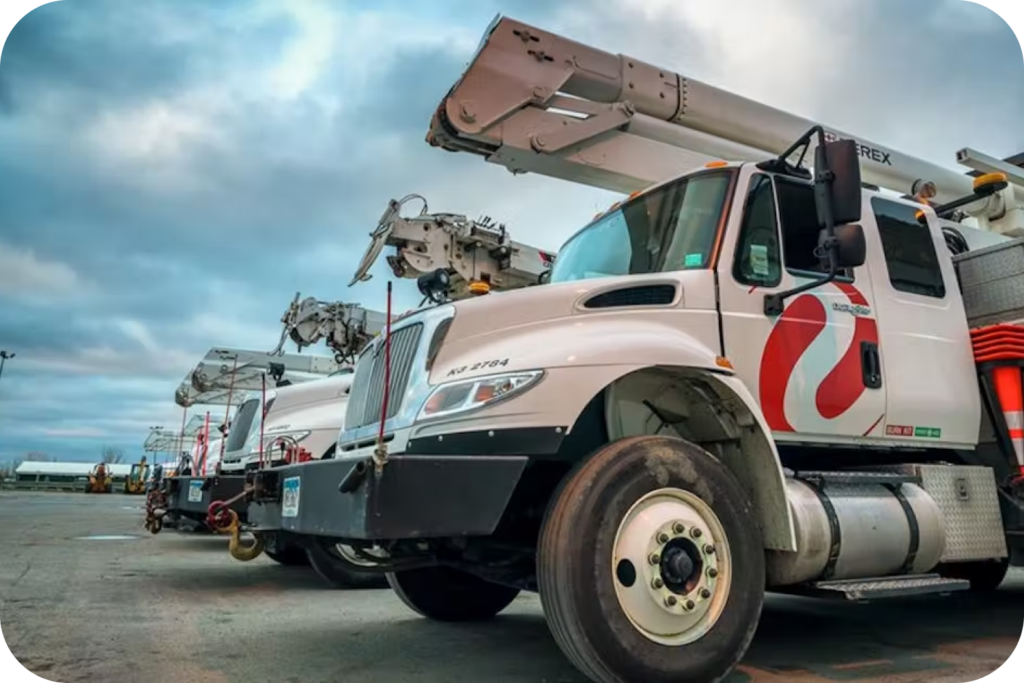
Overview: Press Redundancy
Press redundancy isn’t flashy, but it’s everything when it matters. If you’ve ever had a press go down in the middle of a complex project and there is no equivalent backup, you know how quickly timelines can slip – days, even weeks. That’s why investments like this are critical. It’s not just more capacity of state-of-the-art equipment—it’s reliability, stability, and confidence when deadlines are tight.
This is just one of many reasons it’s important to work with a partner that has backups on backups. If you’re dealing with crucial turnaround times that must be met, we have the solution.
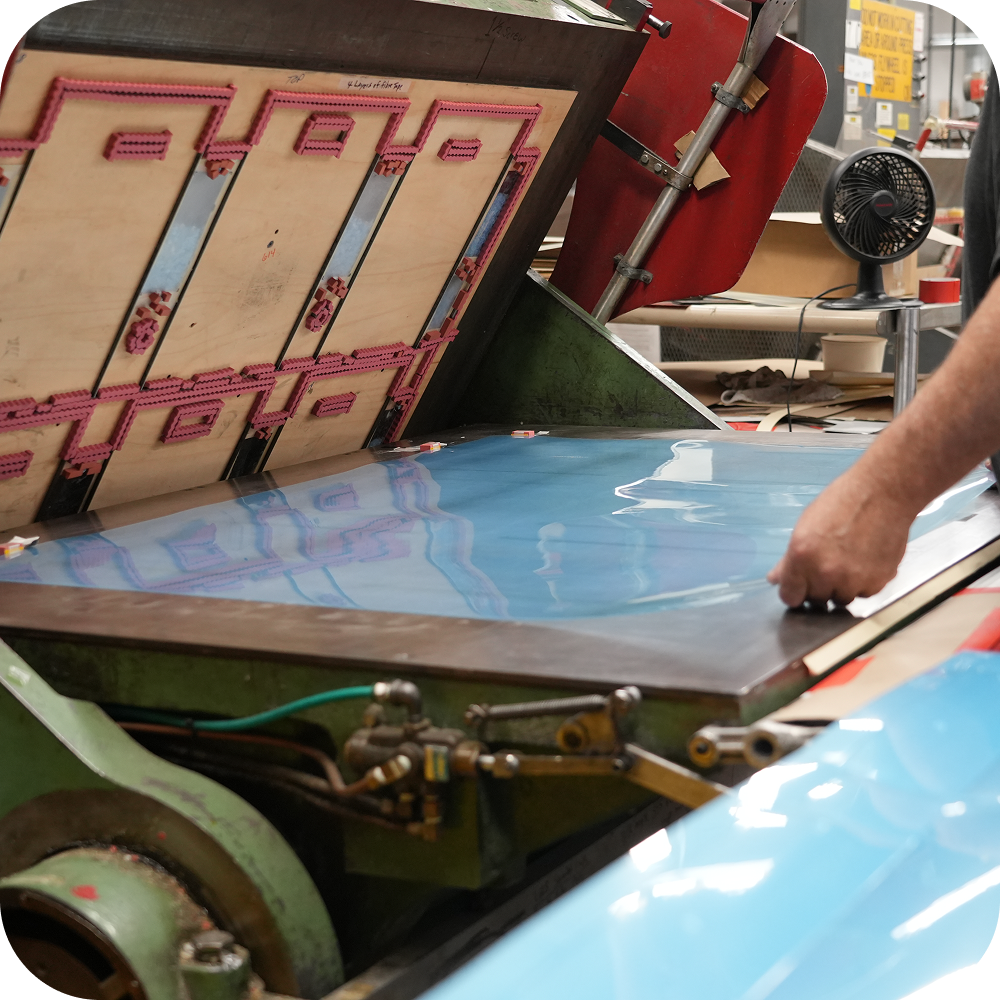
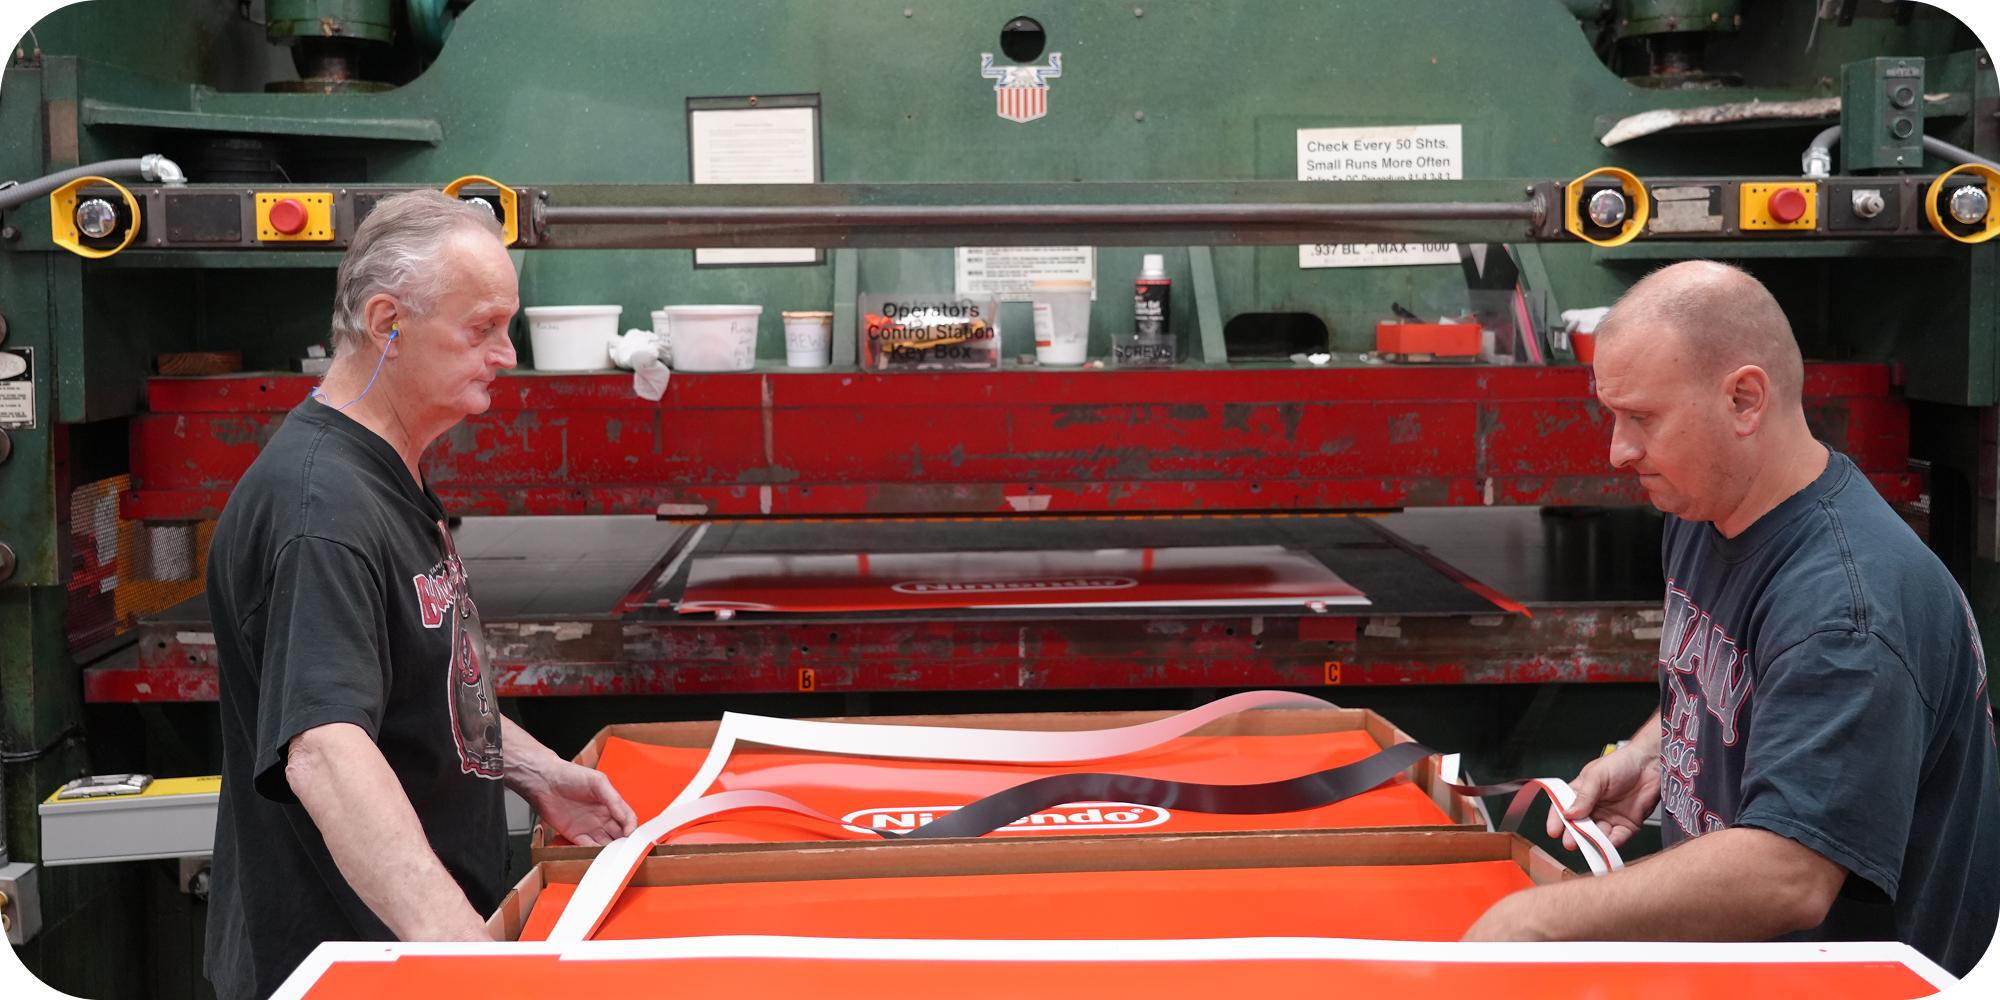
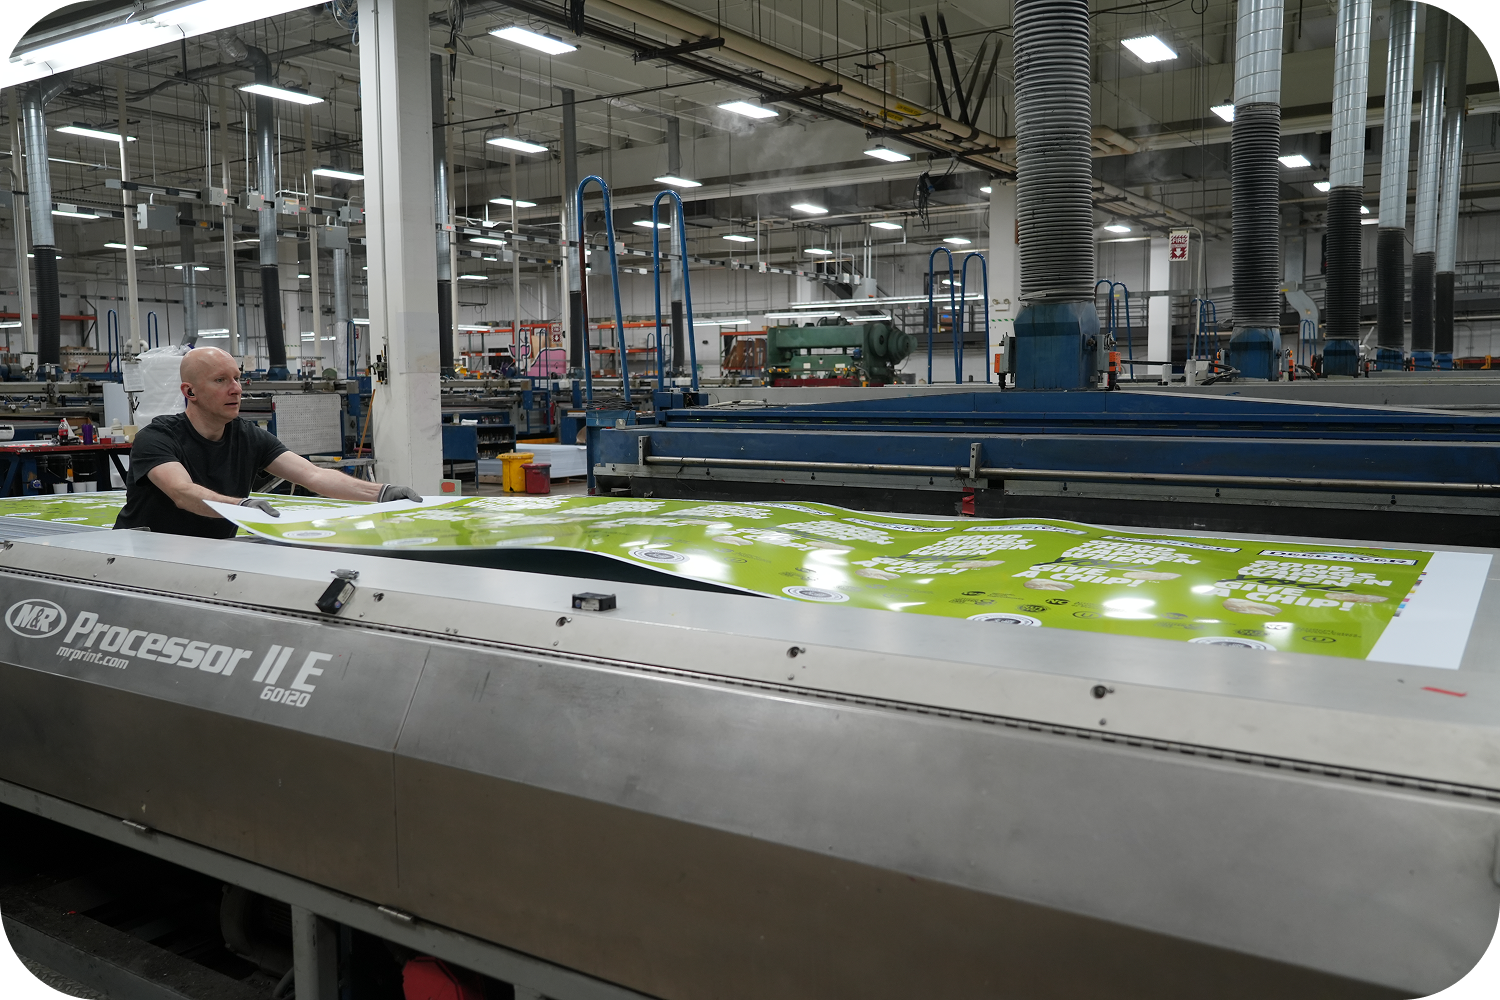
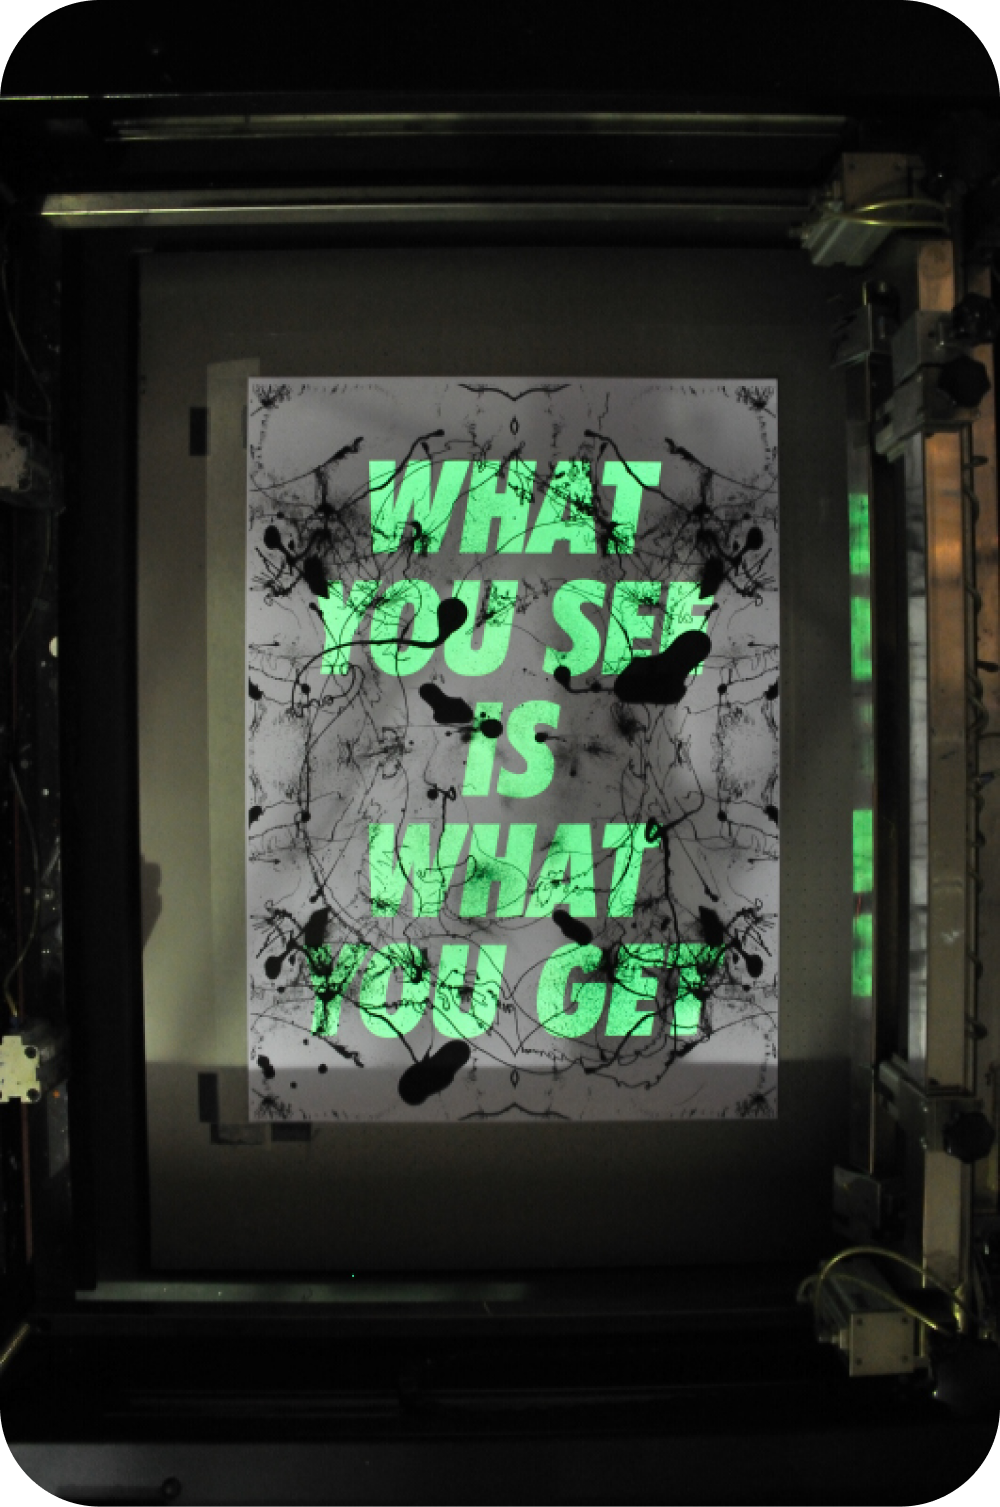
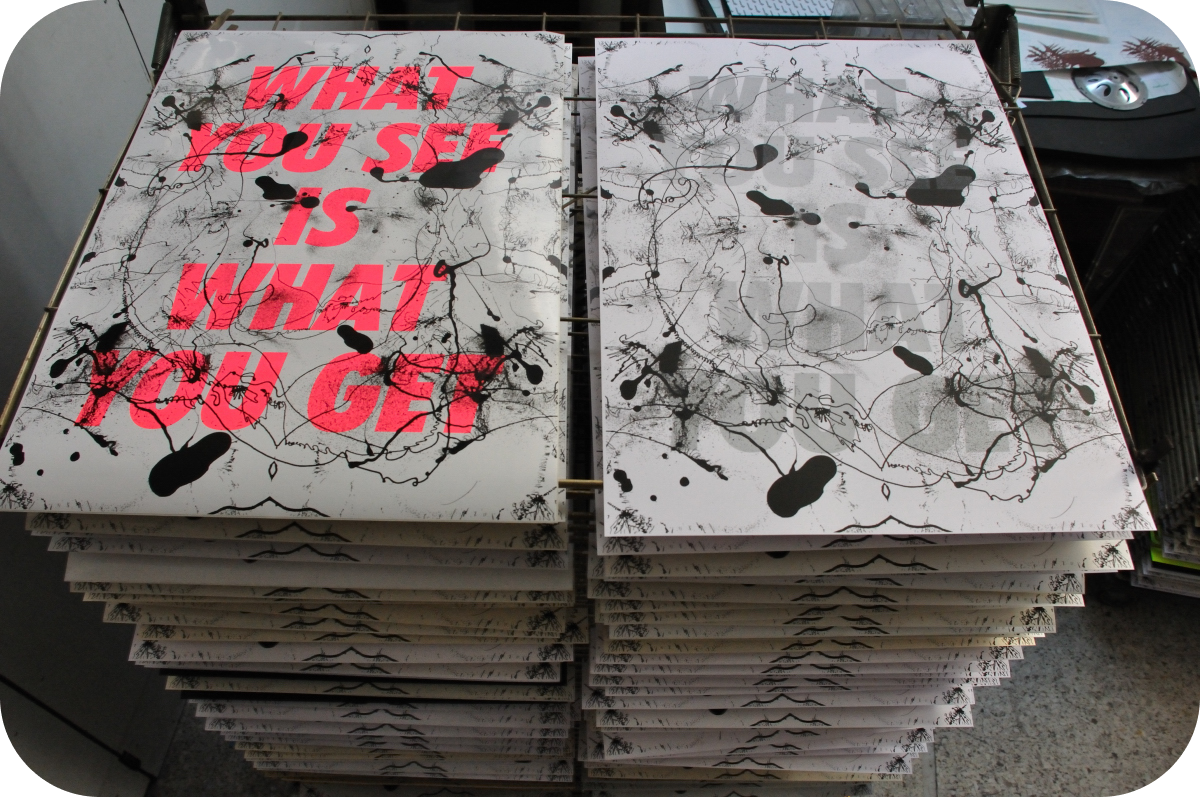
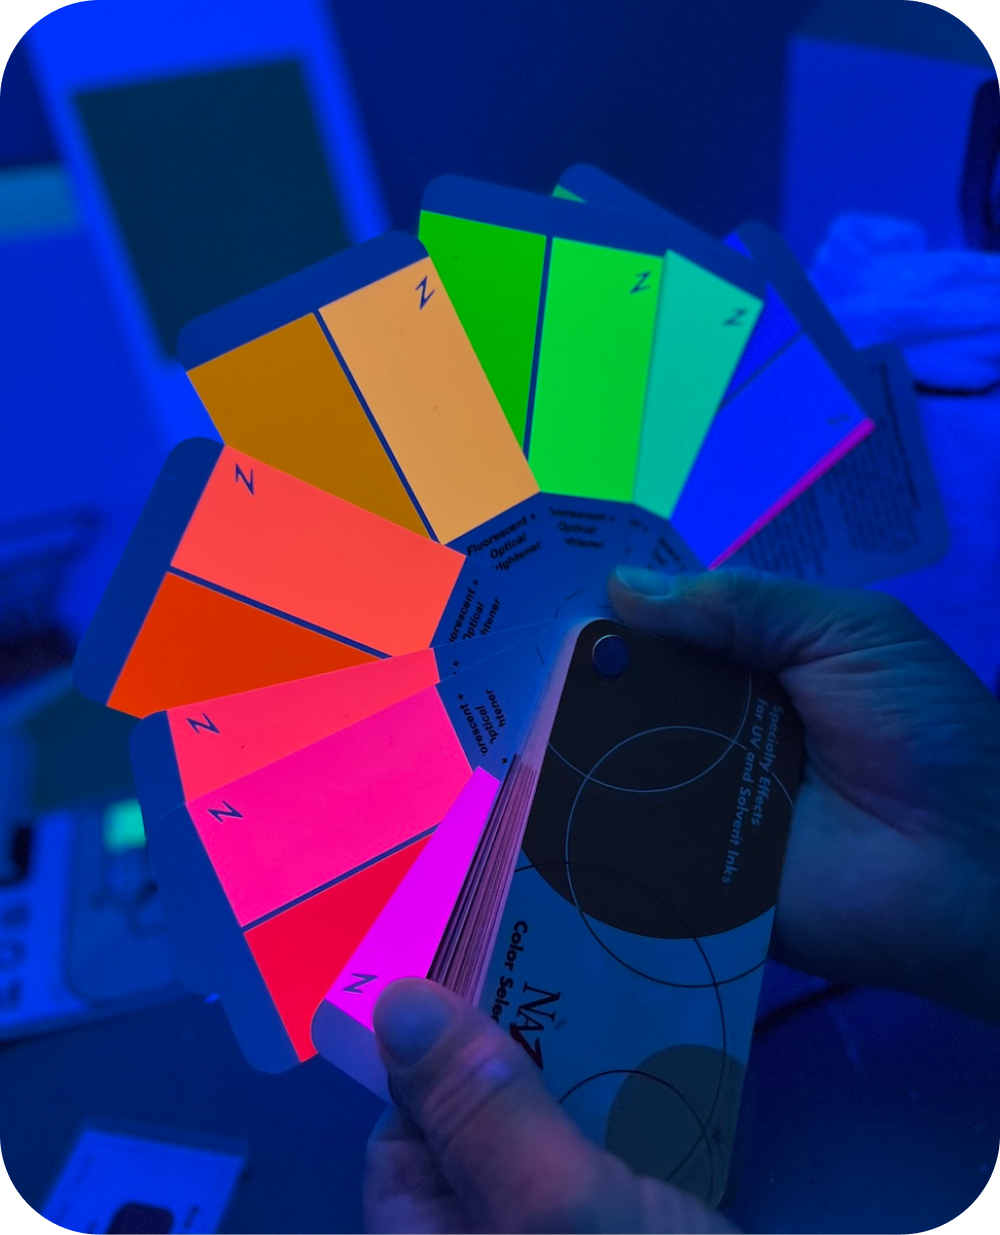
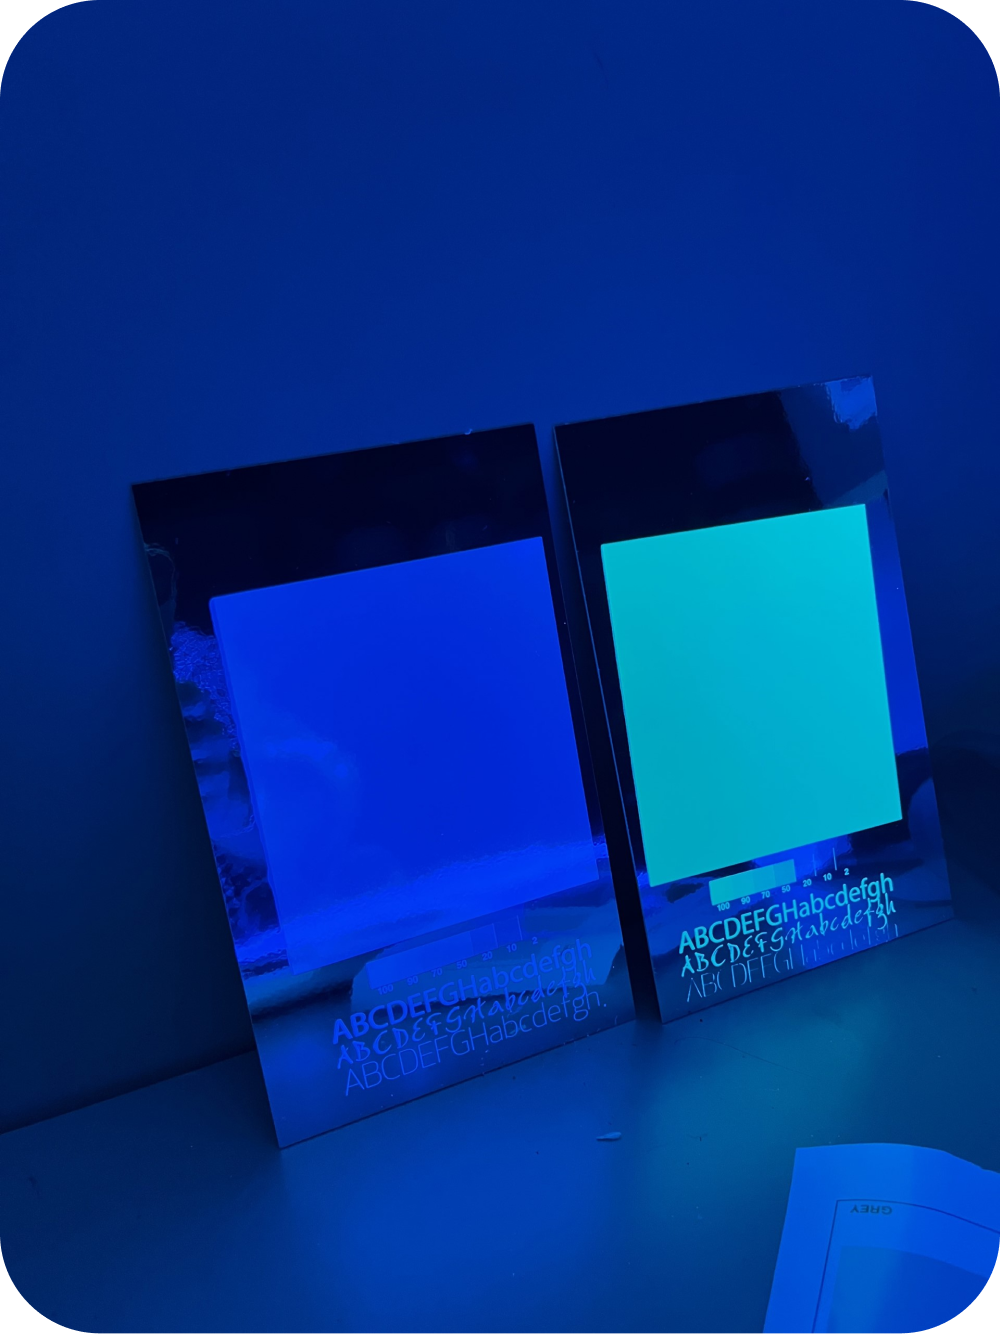
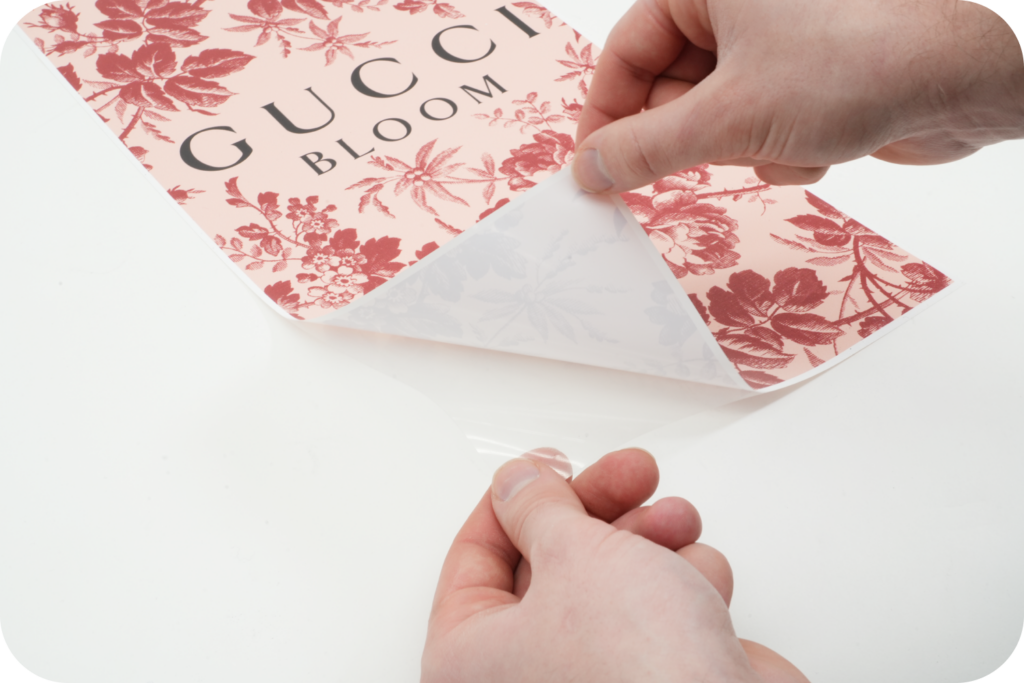
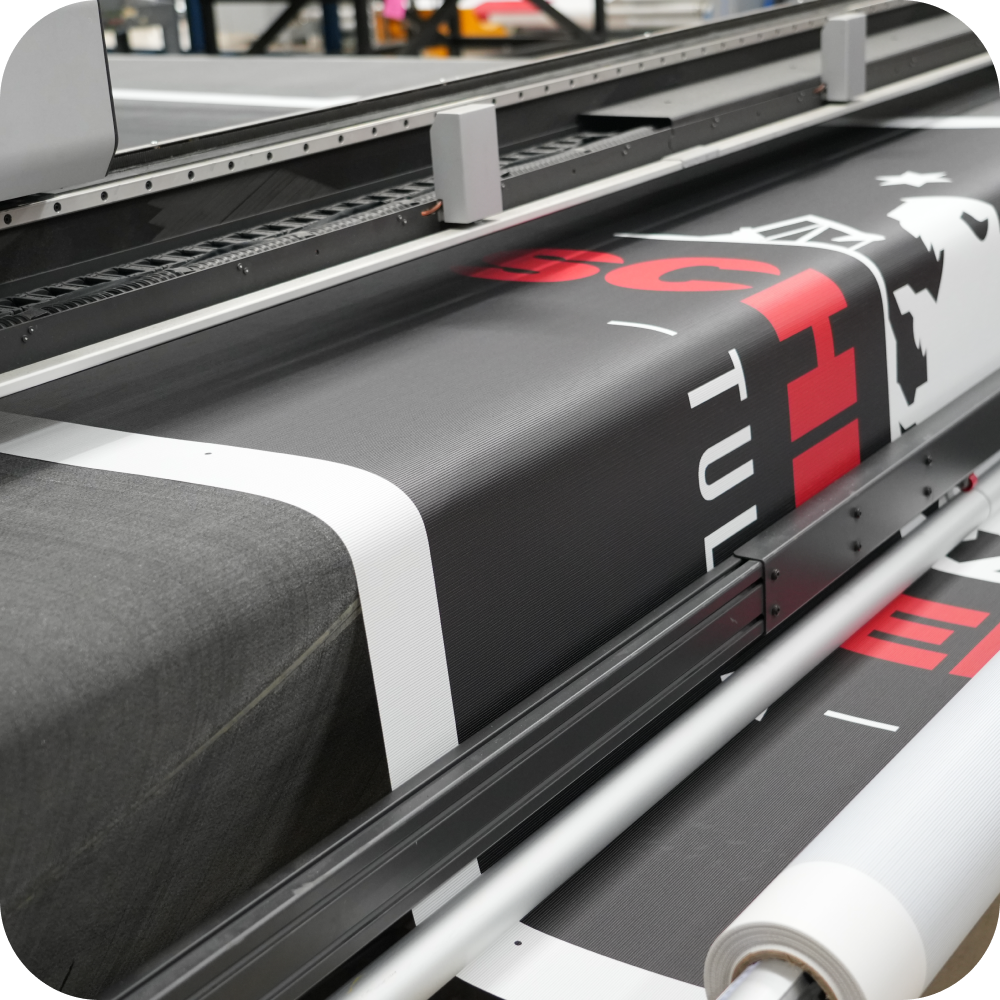
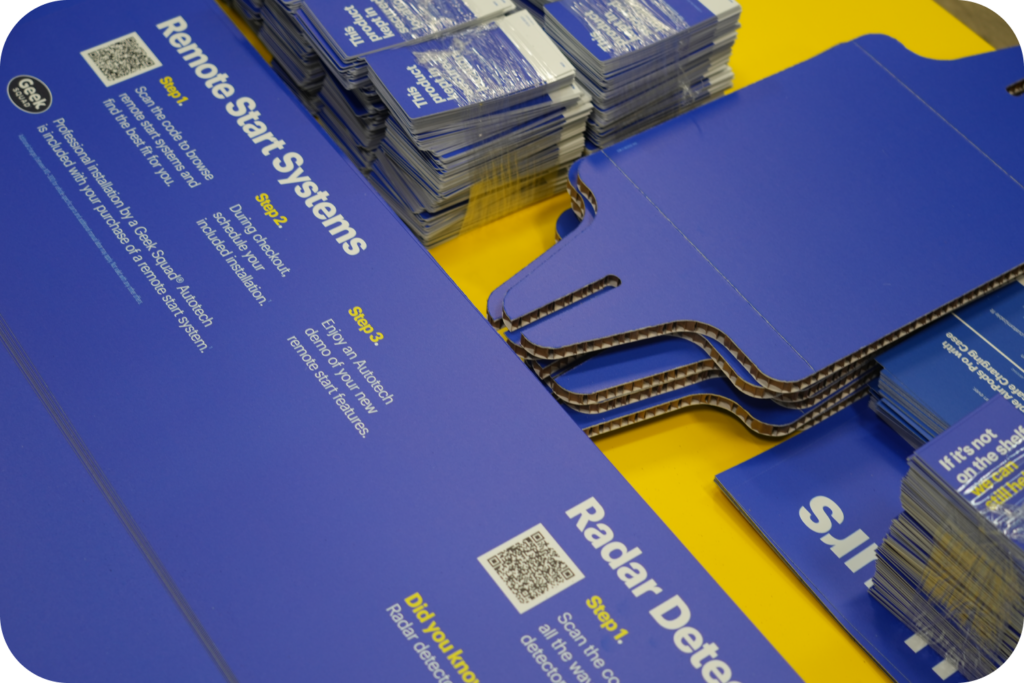
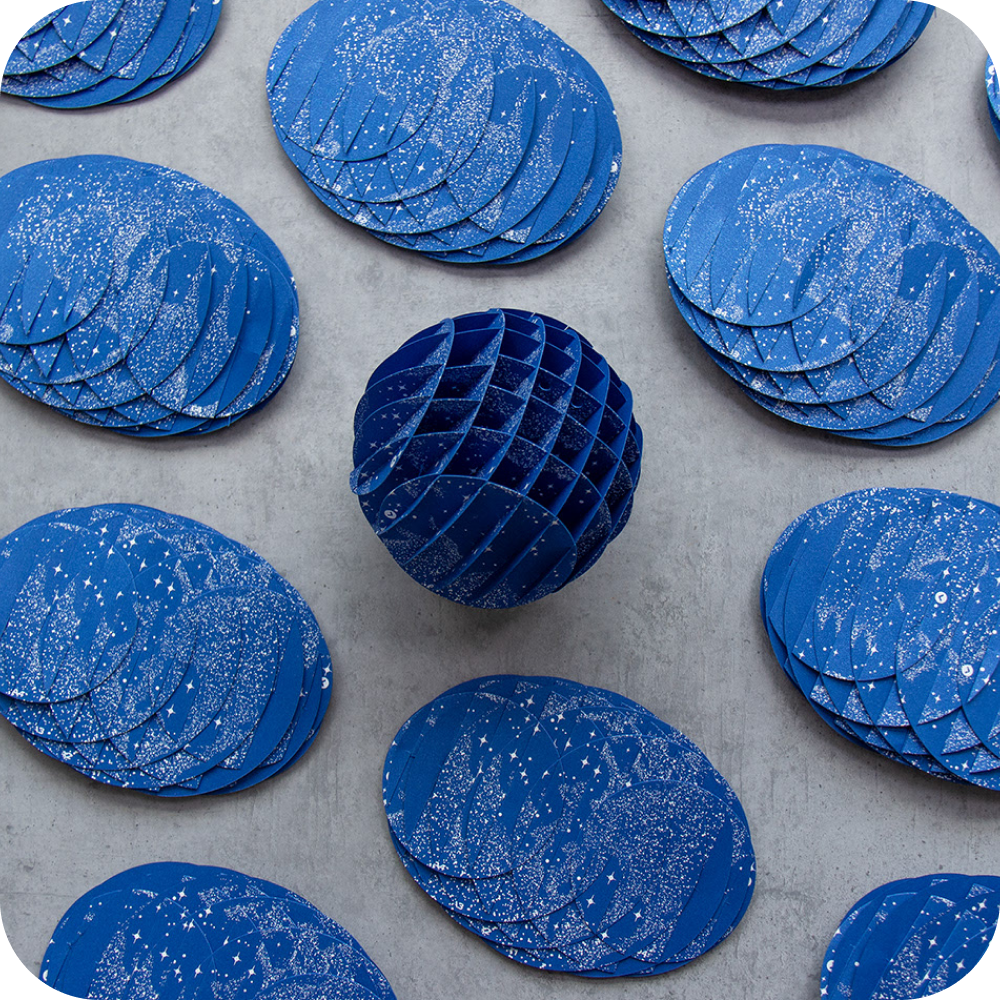
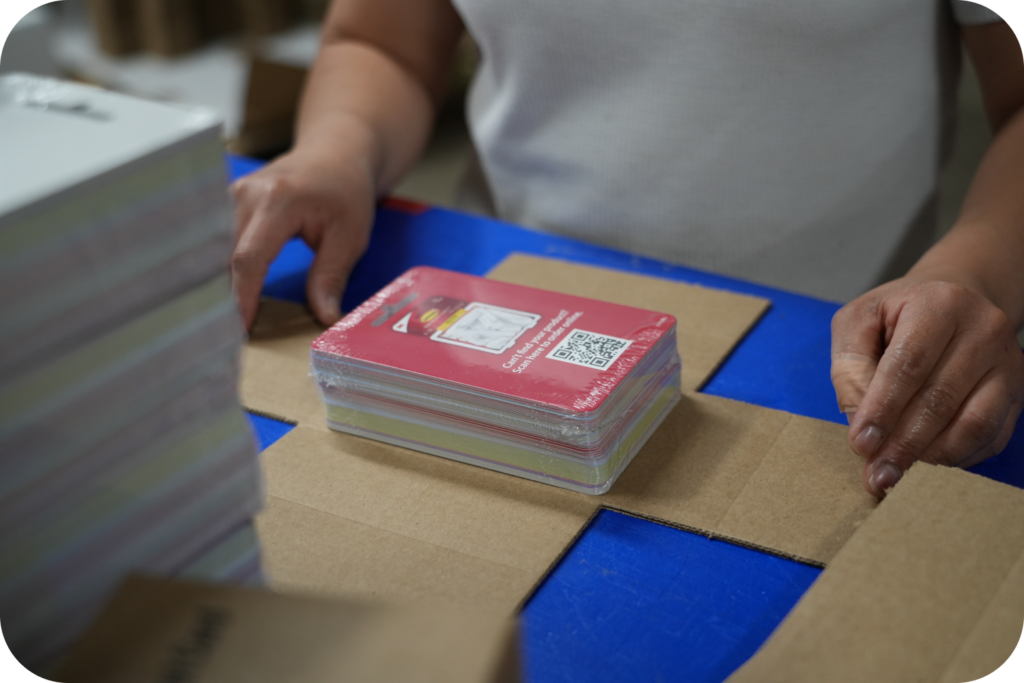
Overview: Spot Colors
Have your graphics ever looked fuzzy or gradients turn into steps?
That’s where detail separates the best from the rest: spot colors, fine text, gradients, clean edges. We don’t guess, we match. These new presses only strengthen what our pre-press and award-winning color lab already does best.
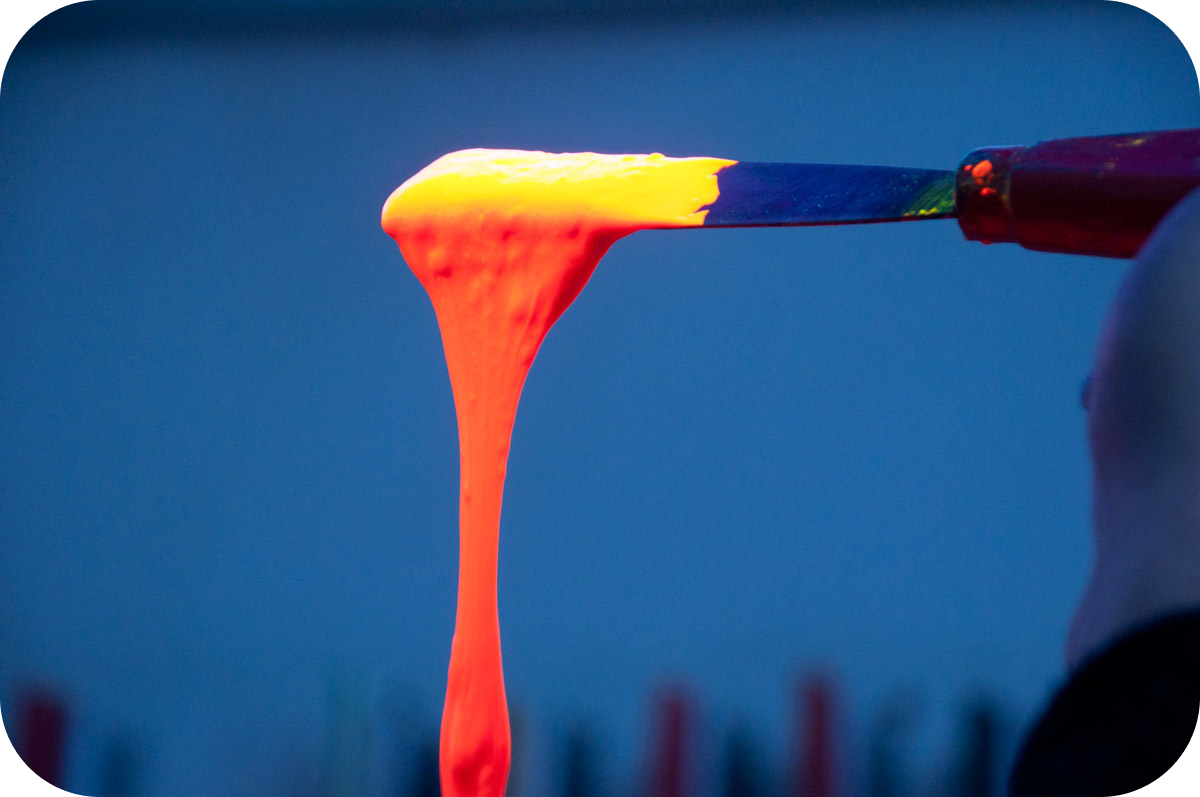
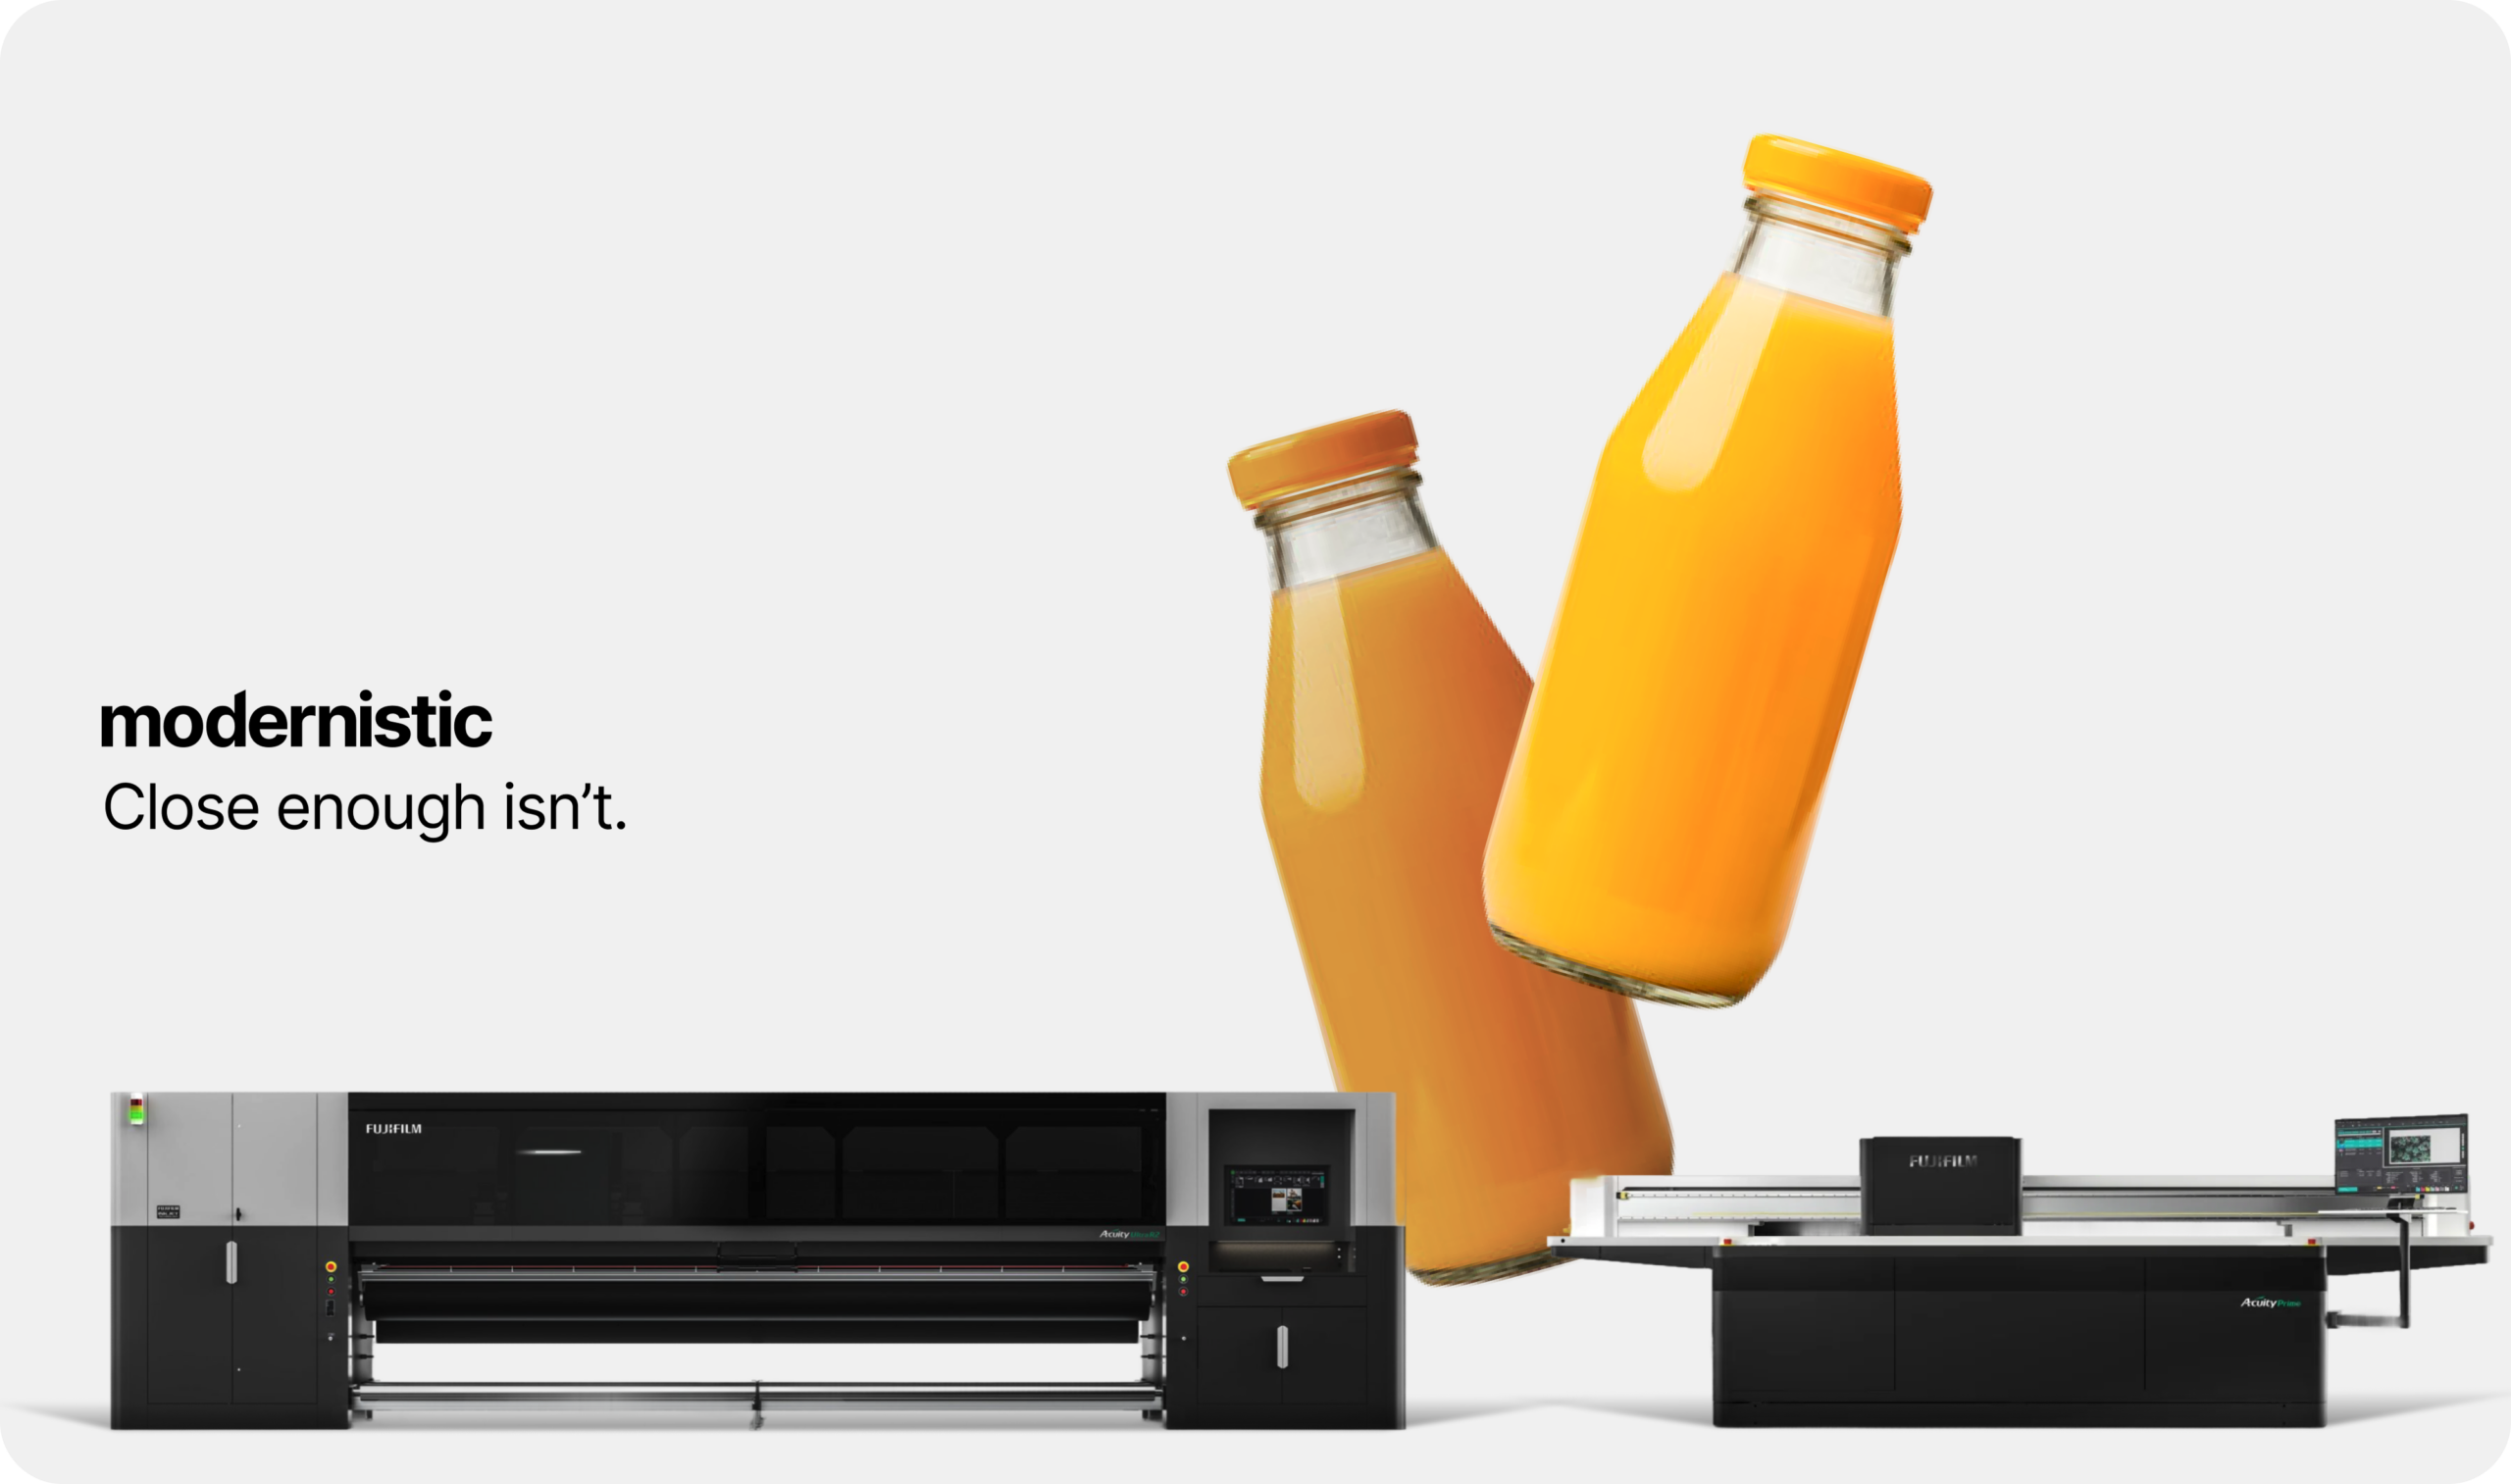
Close enough isn’t. Here’s a great story of how we helped brands do exactly that – How We Matched Neon Spot Colors?! or How We Hit Extreme Resolution When No One Could?!
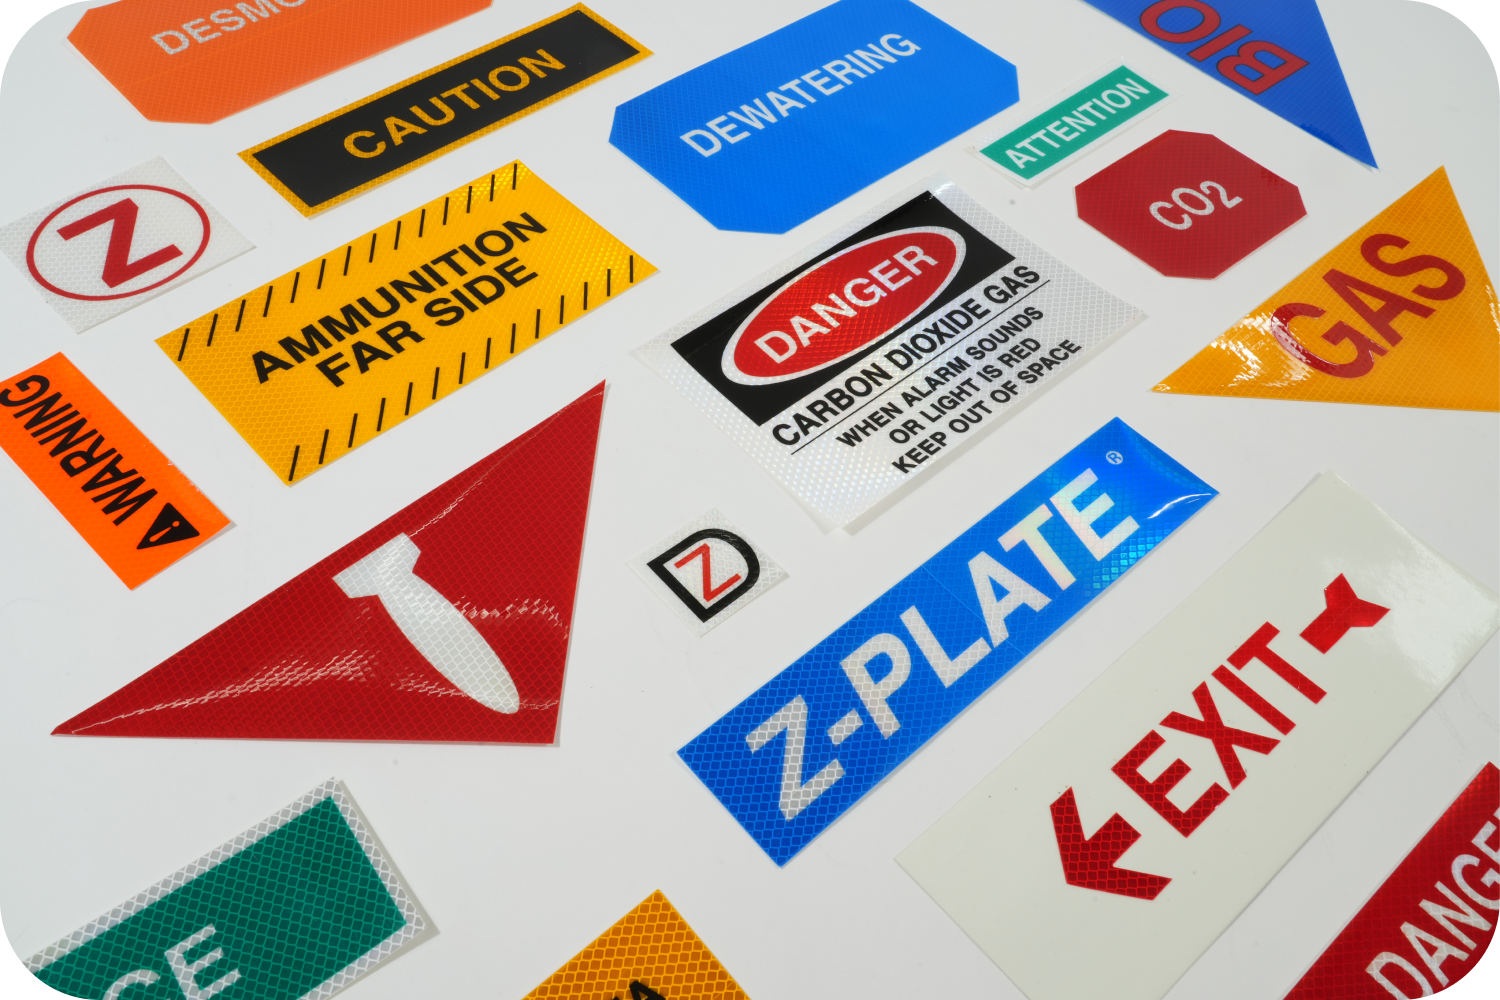
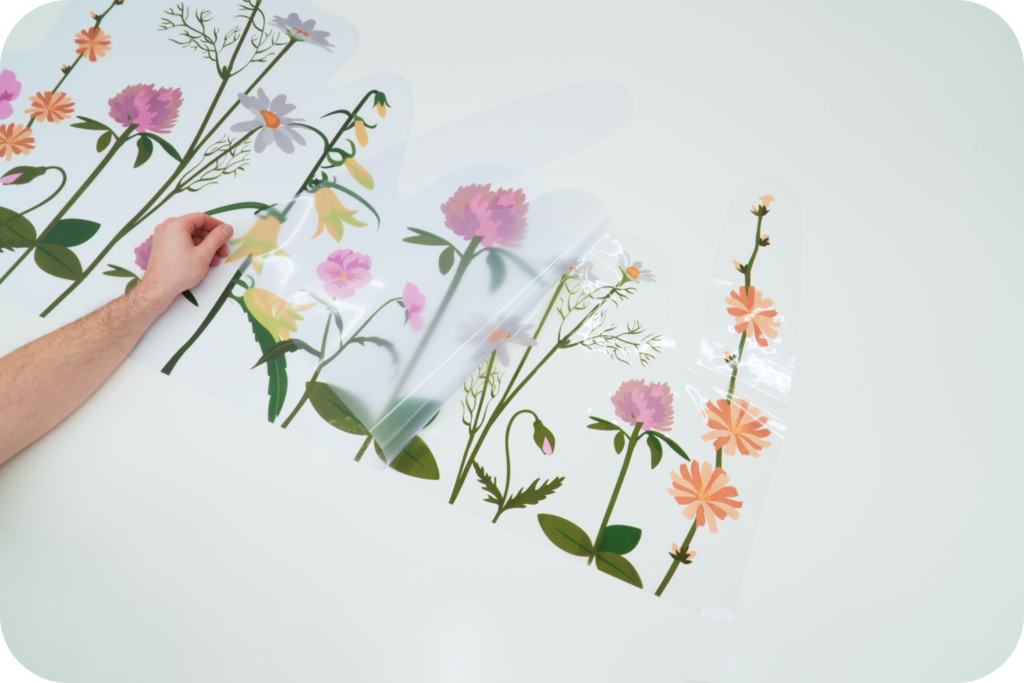
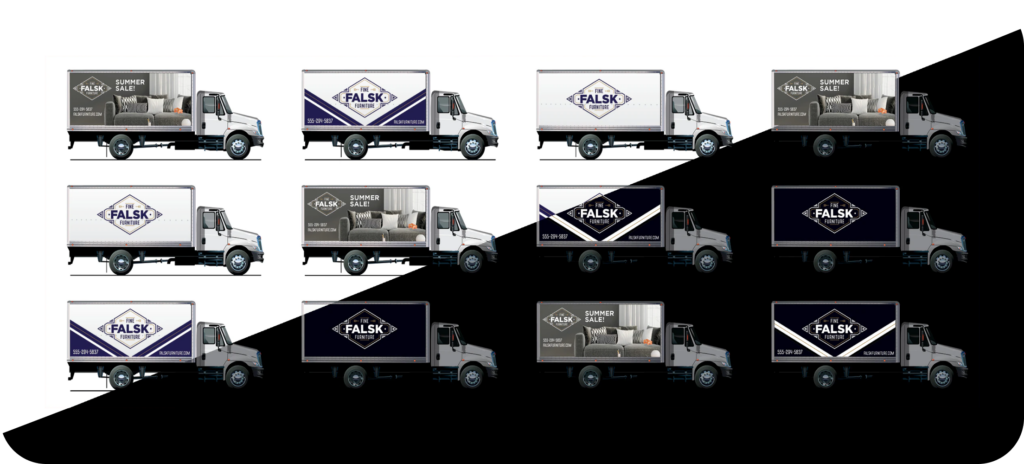
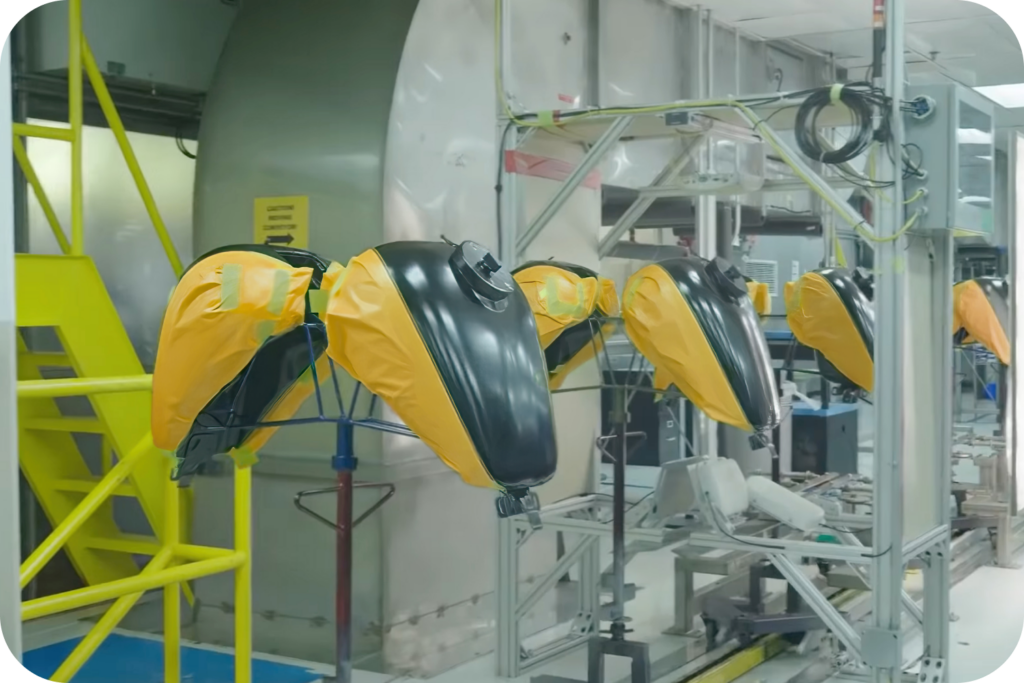
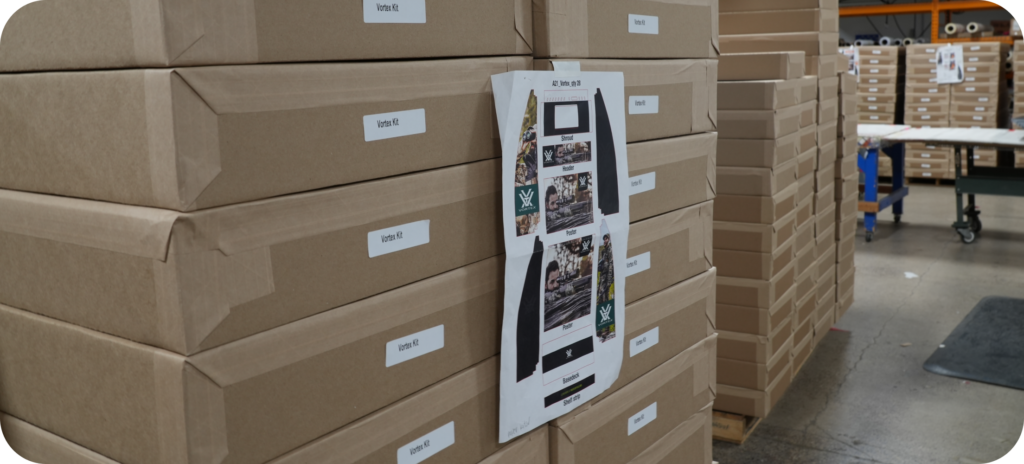
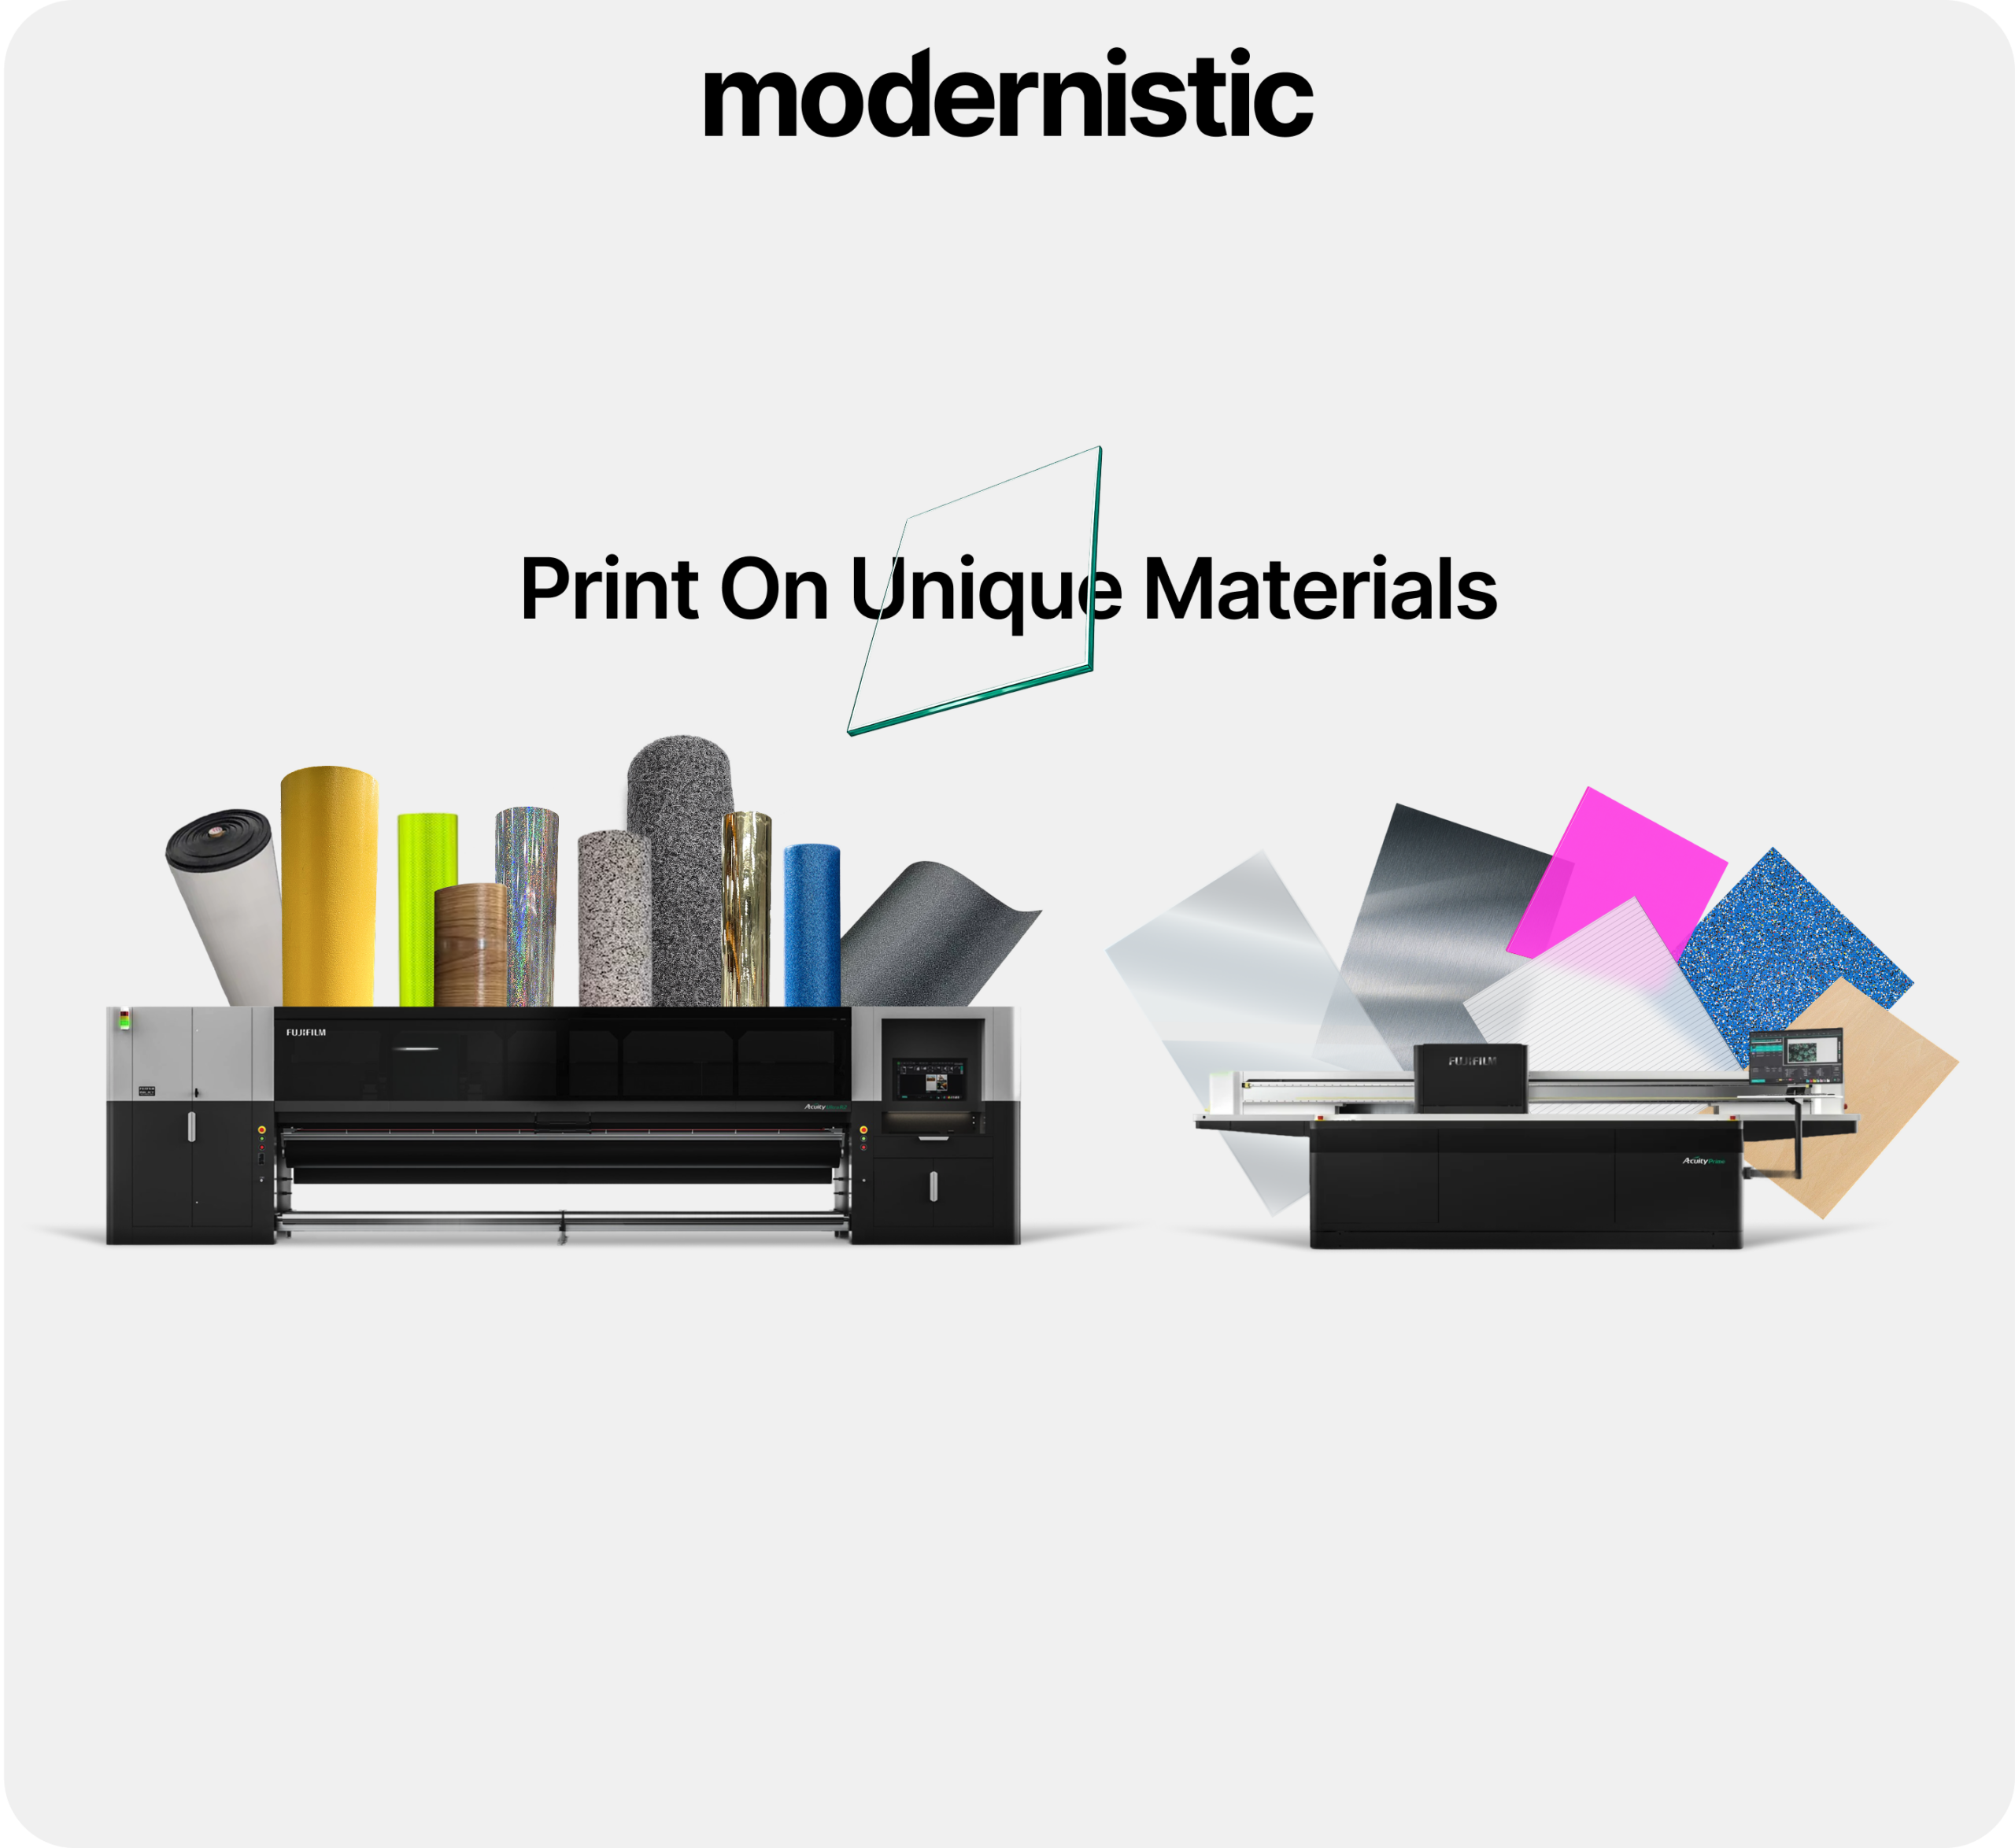
Overview: Unique Materials
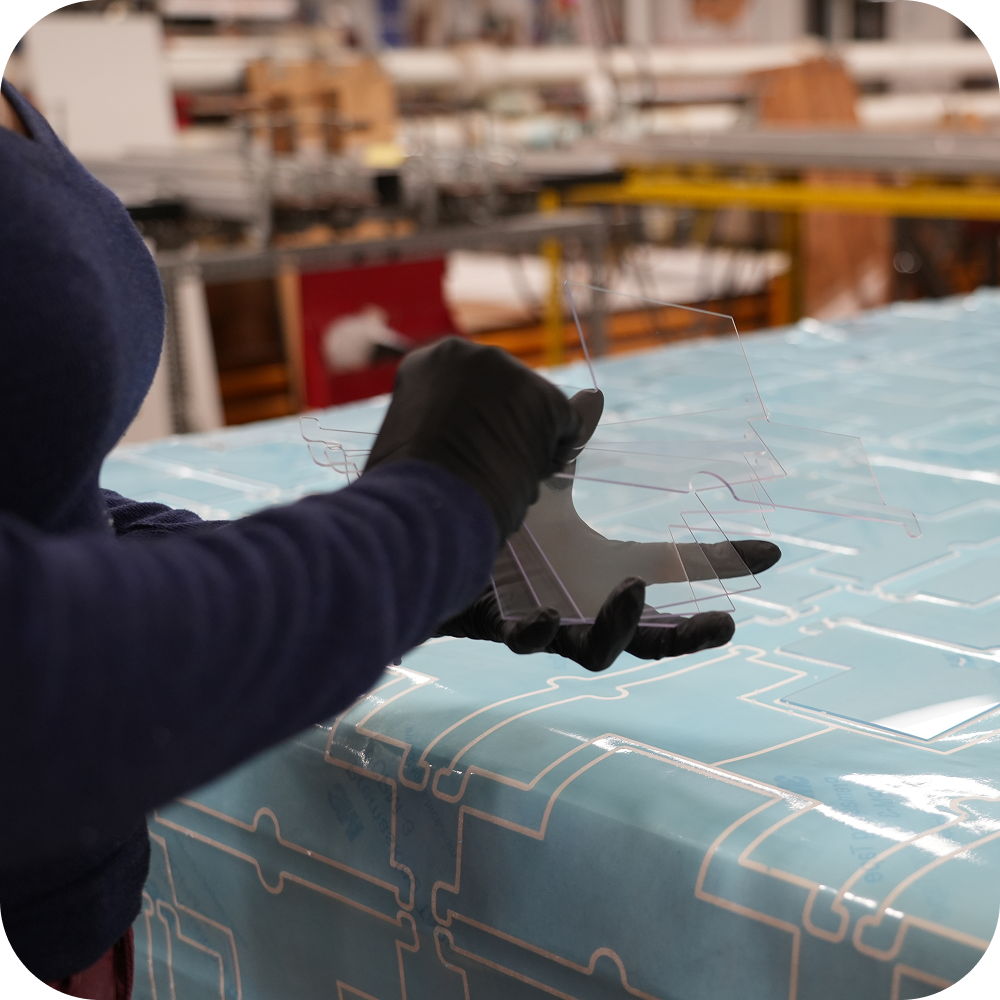
If you caught the press specs, you probably noticed a trend: unique materials are welcome. These presses are a continuation of that offering—spec’d by our team for their versatility, so we can match the process to the project instead of forcing a one-size-fits-all approach.
From non-DA acrylic to glass, sandpaper, and even 4” thick foam …
we’re built to handle the stuff most printers avoid.
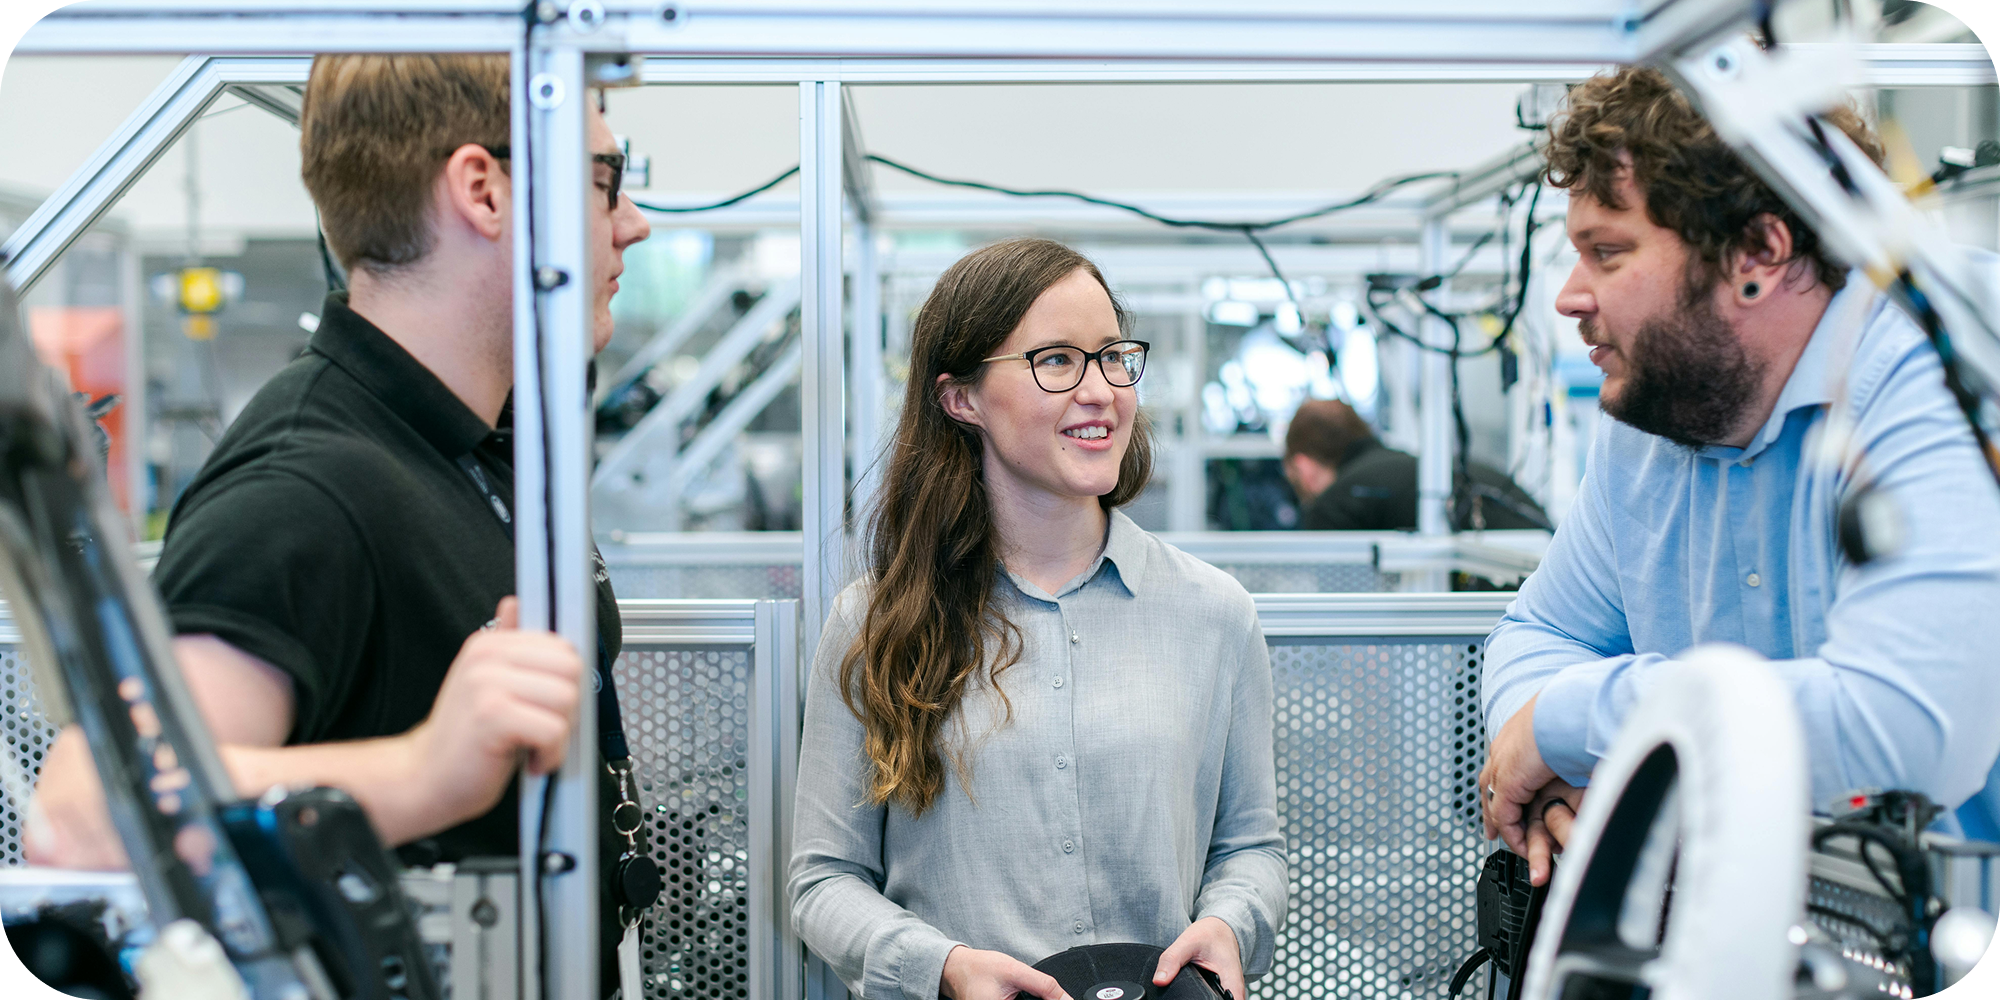
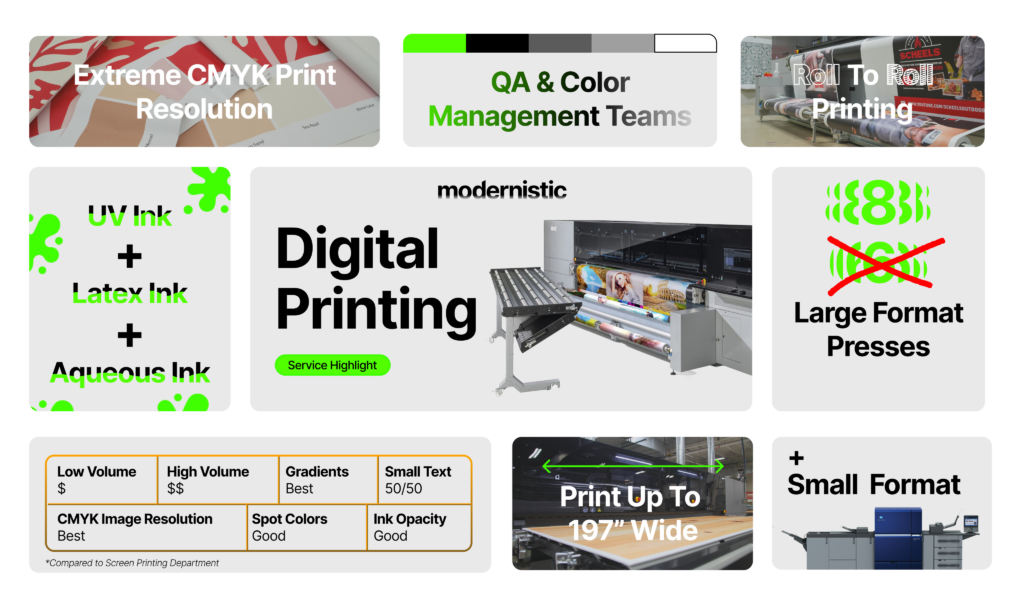
New presses are just the start. This is how it all connects. Not all digital printing is created equal; UV, latex, Aqueous, roll-fed, sheet-fed, DPI, speed. Each path has its strengths with color, durability, detail, and cost.
The advantage goes further than just offering all the options in-house … it’s knowing exactly which one to use and when. That’s how we deliver the best results without outsourcing or over-engineering the project. Got a project that needs dialing in? Send us the specs at info@modprint.com for a free quote/consultation or stay tuned for next month’s knowledge drop to learn more!
On the other hand, if you can’t wait or are ready to see these presses help you RIGHT NOW – click here, and we’ll talk today!